Dorm Room Gaming PC Setup: Small-Space Build Guide
A dorm room is the hardest place to build a gaming PC, and almost nobody plans for it. You get a desk you did not choose, one outlet you have to share, a roommate sleeping four feet away, and a rule sheet that probably bans anything with an open flame or a power tool. Then you try to fit a mid-tower, two monitors, a keyboard, and a mug on a surface built for a textbook.
This guide is about making that work — and making it look like yours. Not a generic “buy a smaller case” list, but the actual decisions that matter when your entire battlestation has to live on 120cm of shared desk.
Start with the desk, not the PC
Measure before you buy anything. Standard dorm desks run roughly 100–120cm wide and 50–60cm deep, and a chunk of that depth disappears the moment you put a monitor on it. Two numbers decide your whole build:
- Usable depth behind the monitor. If you have less than about 20cm, your tower is going on the floor or beside the desk, not on it.
- Clearance to the wall. Cases pull air from the back and sides. Shoved flush against drywall, an intake fan is breathing its own exhaust.
If the tower has to go on the desk, a small form factor case is worth the extra money. If it can go on the floor, a standard mid-tower is cheaper, cooler, and quieter — just get it off the carpet. Carpet is a dust factory and it blocks bottom intakes. A cheap shelf, a couple of risers, or even a plank on two books will do.
Heat is the real dorm problem
Most dorms have exactly one climate setting: whatever the building decides. No air conditioning in September, radiators you cannot turn down in January. Your PC does not care about the season, but it definitely cares about ambient temperature — every degree the room gains, your components gain too.
Three things help more than any other spending you could do:
- Give the intake a clear path. Front and bottom intakes need open air. A backpack leaning against the front panel is a thermal problem, not a tidiness problem.
- Do not seal the desk in. Cable-managing everything into a closed cubby traps a warm pocket of air right where the PC breathes.
- Clean the filters monthly. Dorms are dustier than houses — shared hallways, carpet, open windows, and a lot of people. Dust on a filter is airflow you paid for and are not getting.
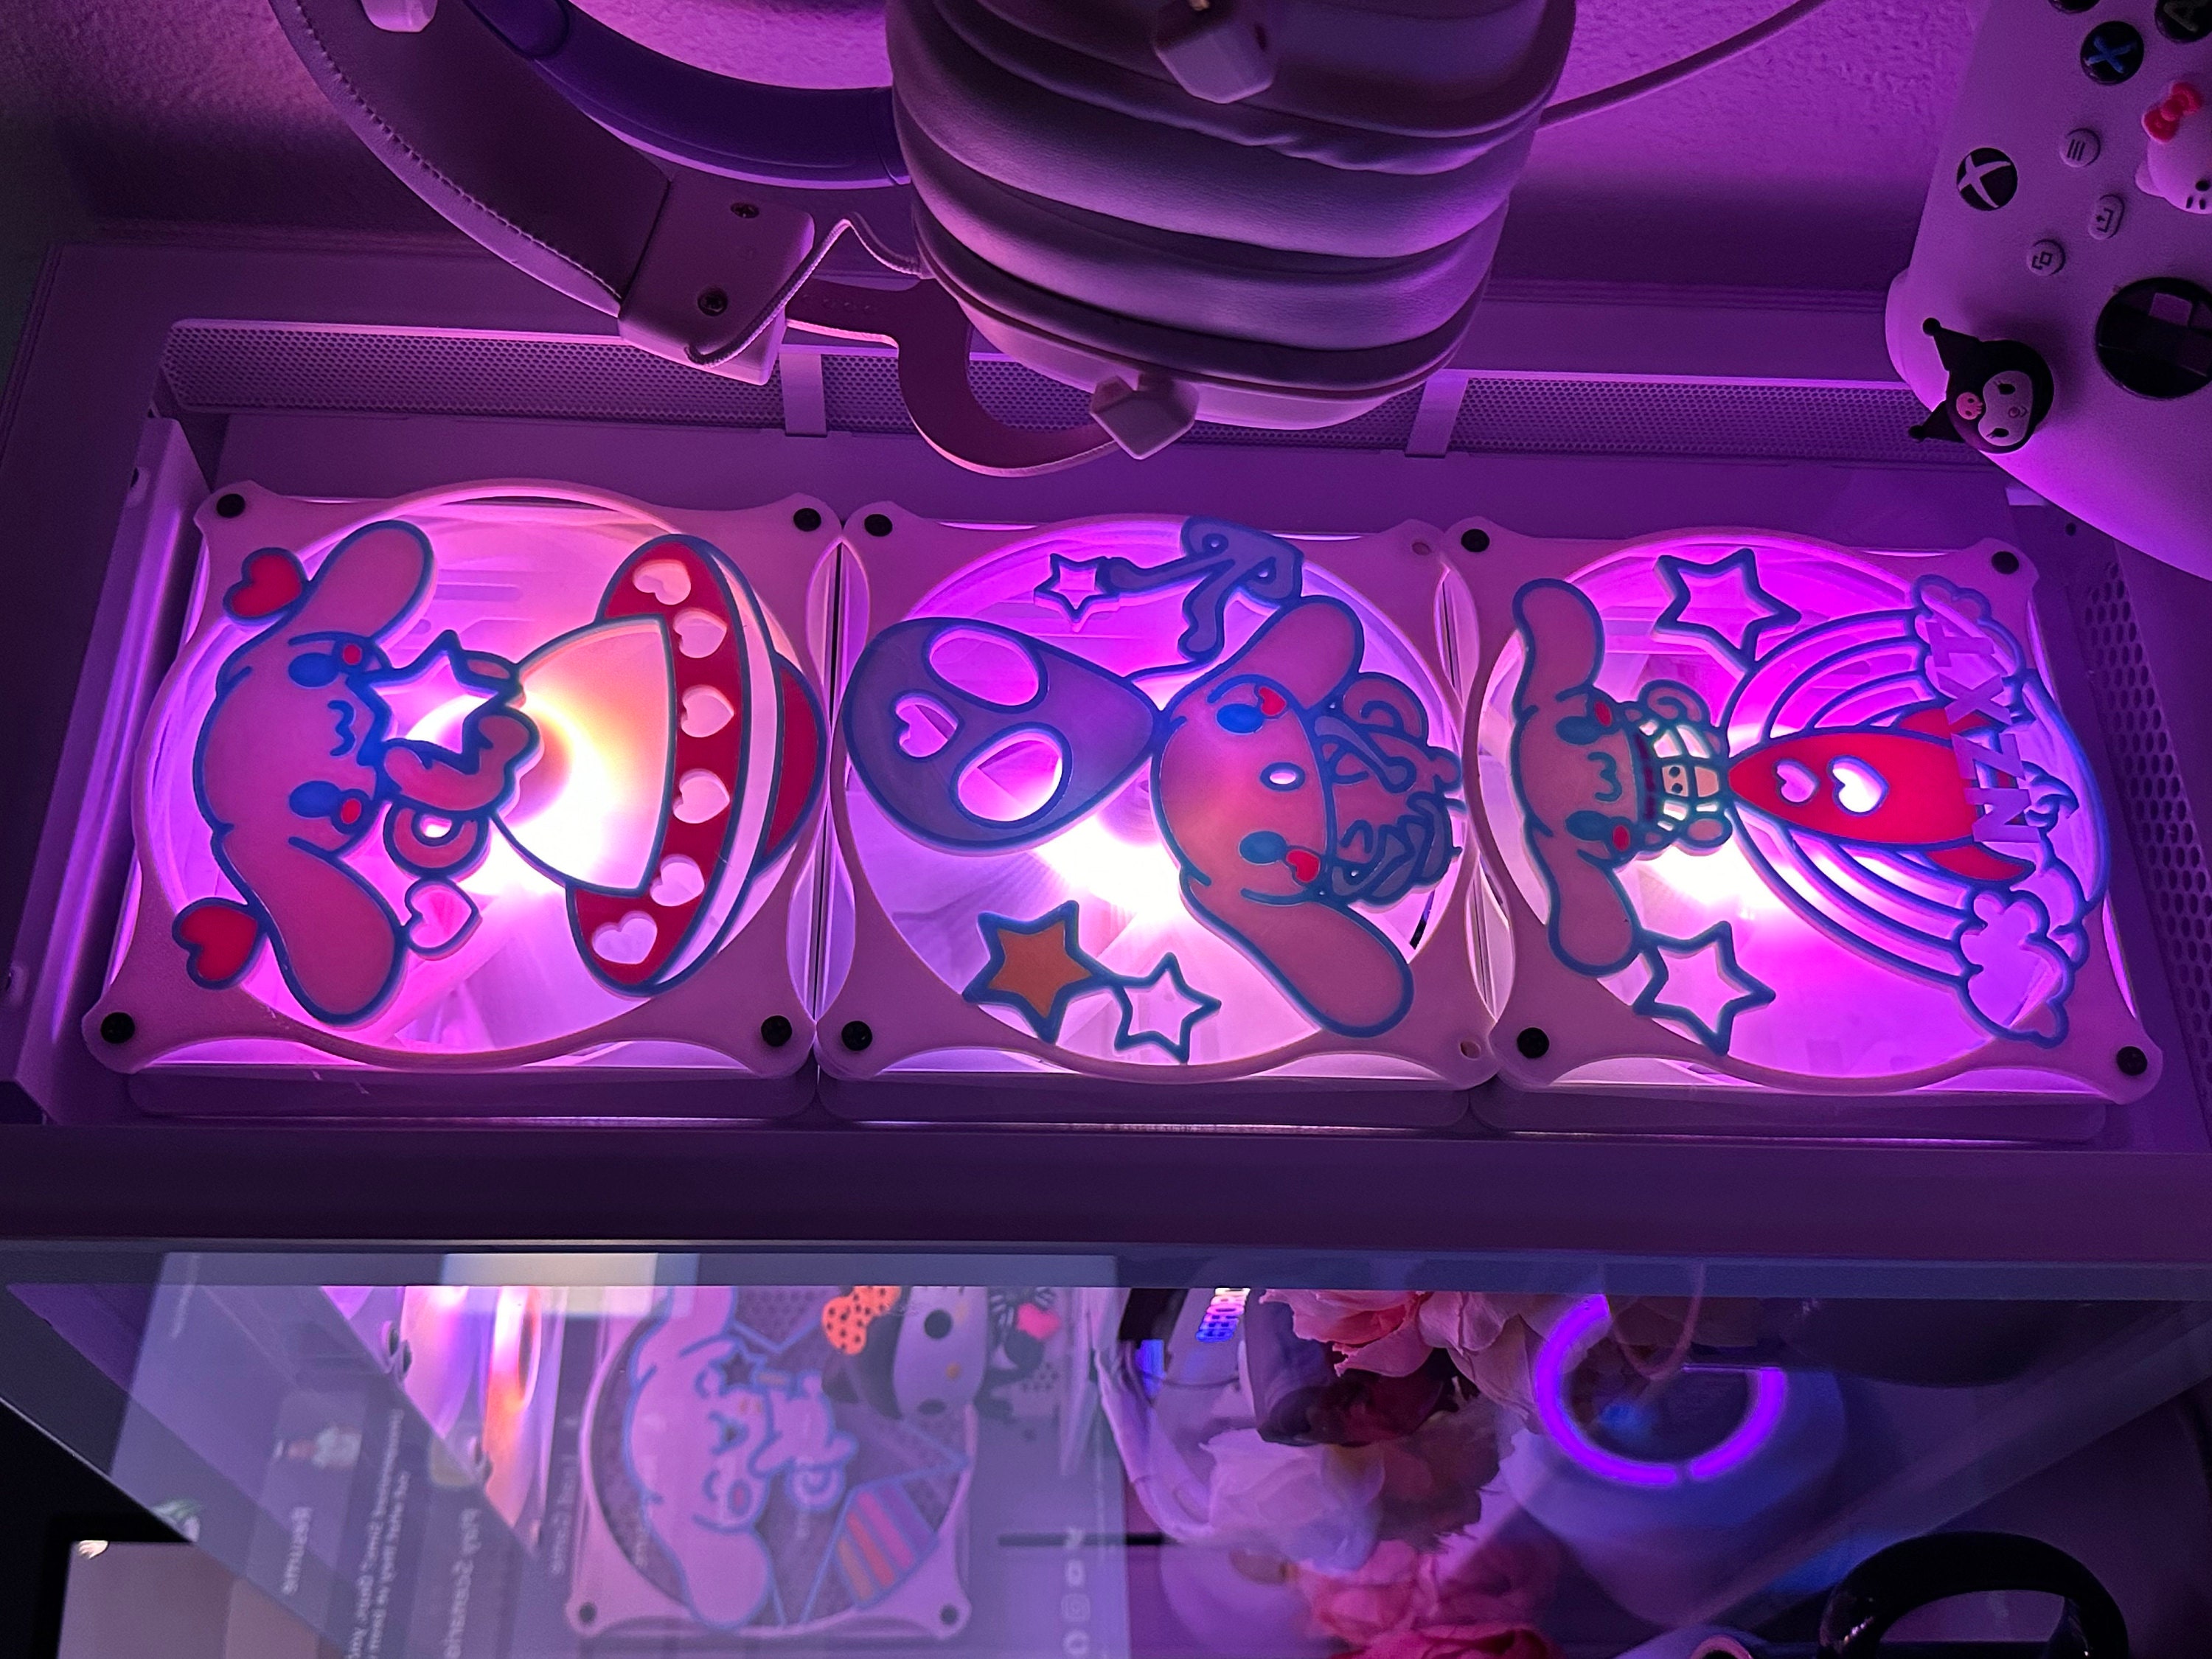
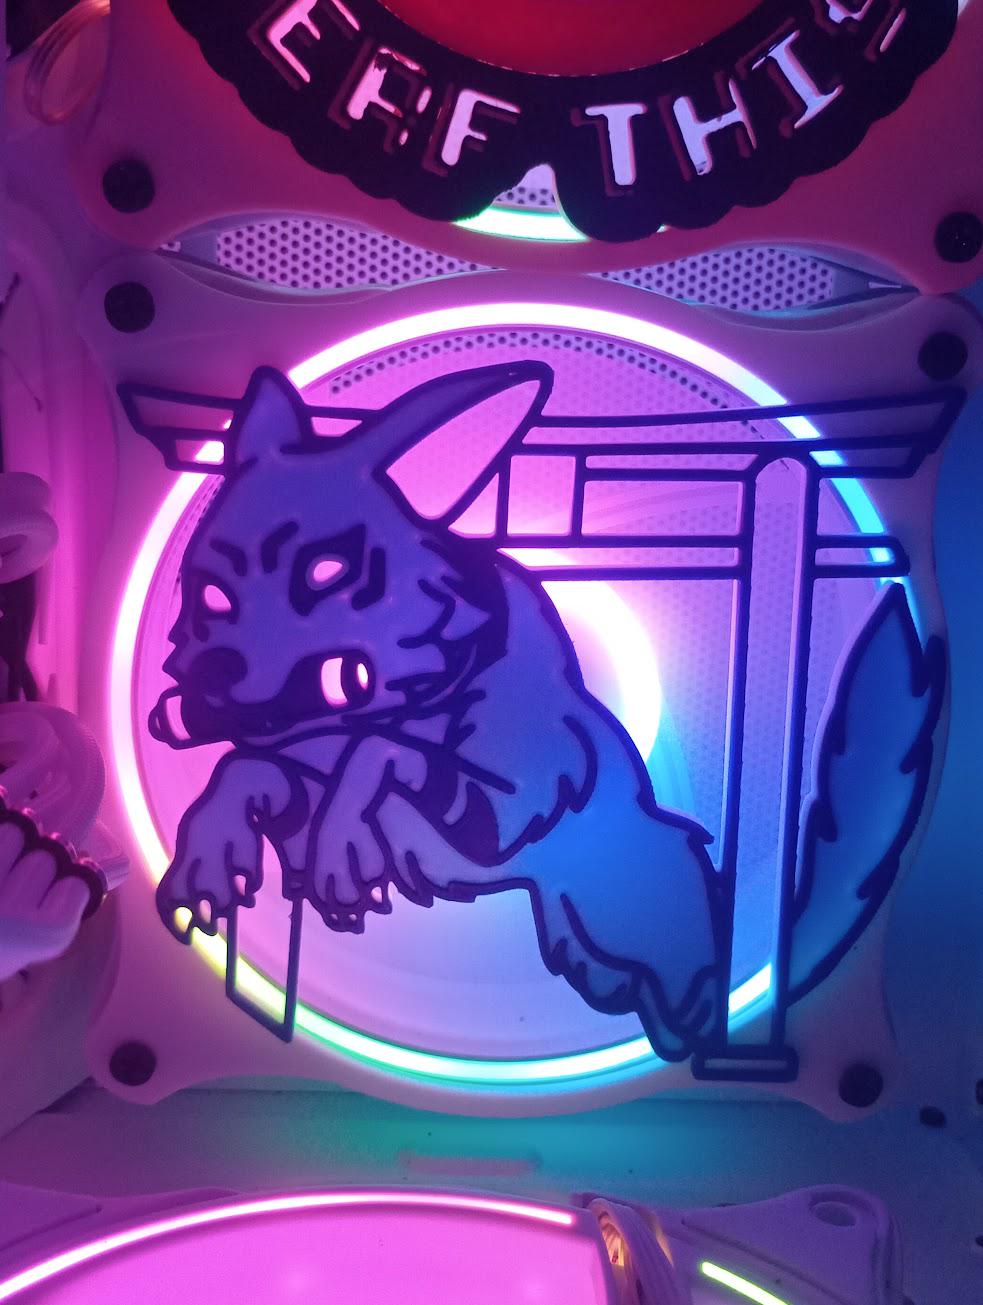
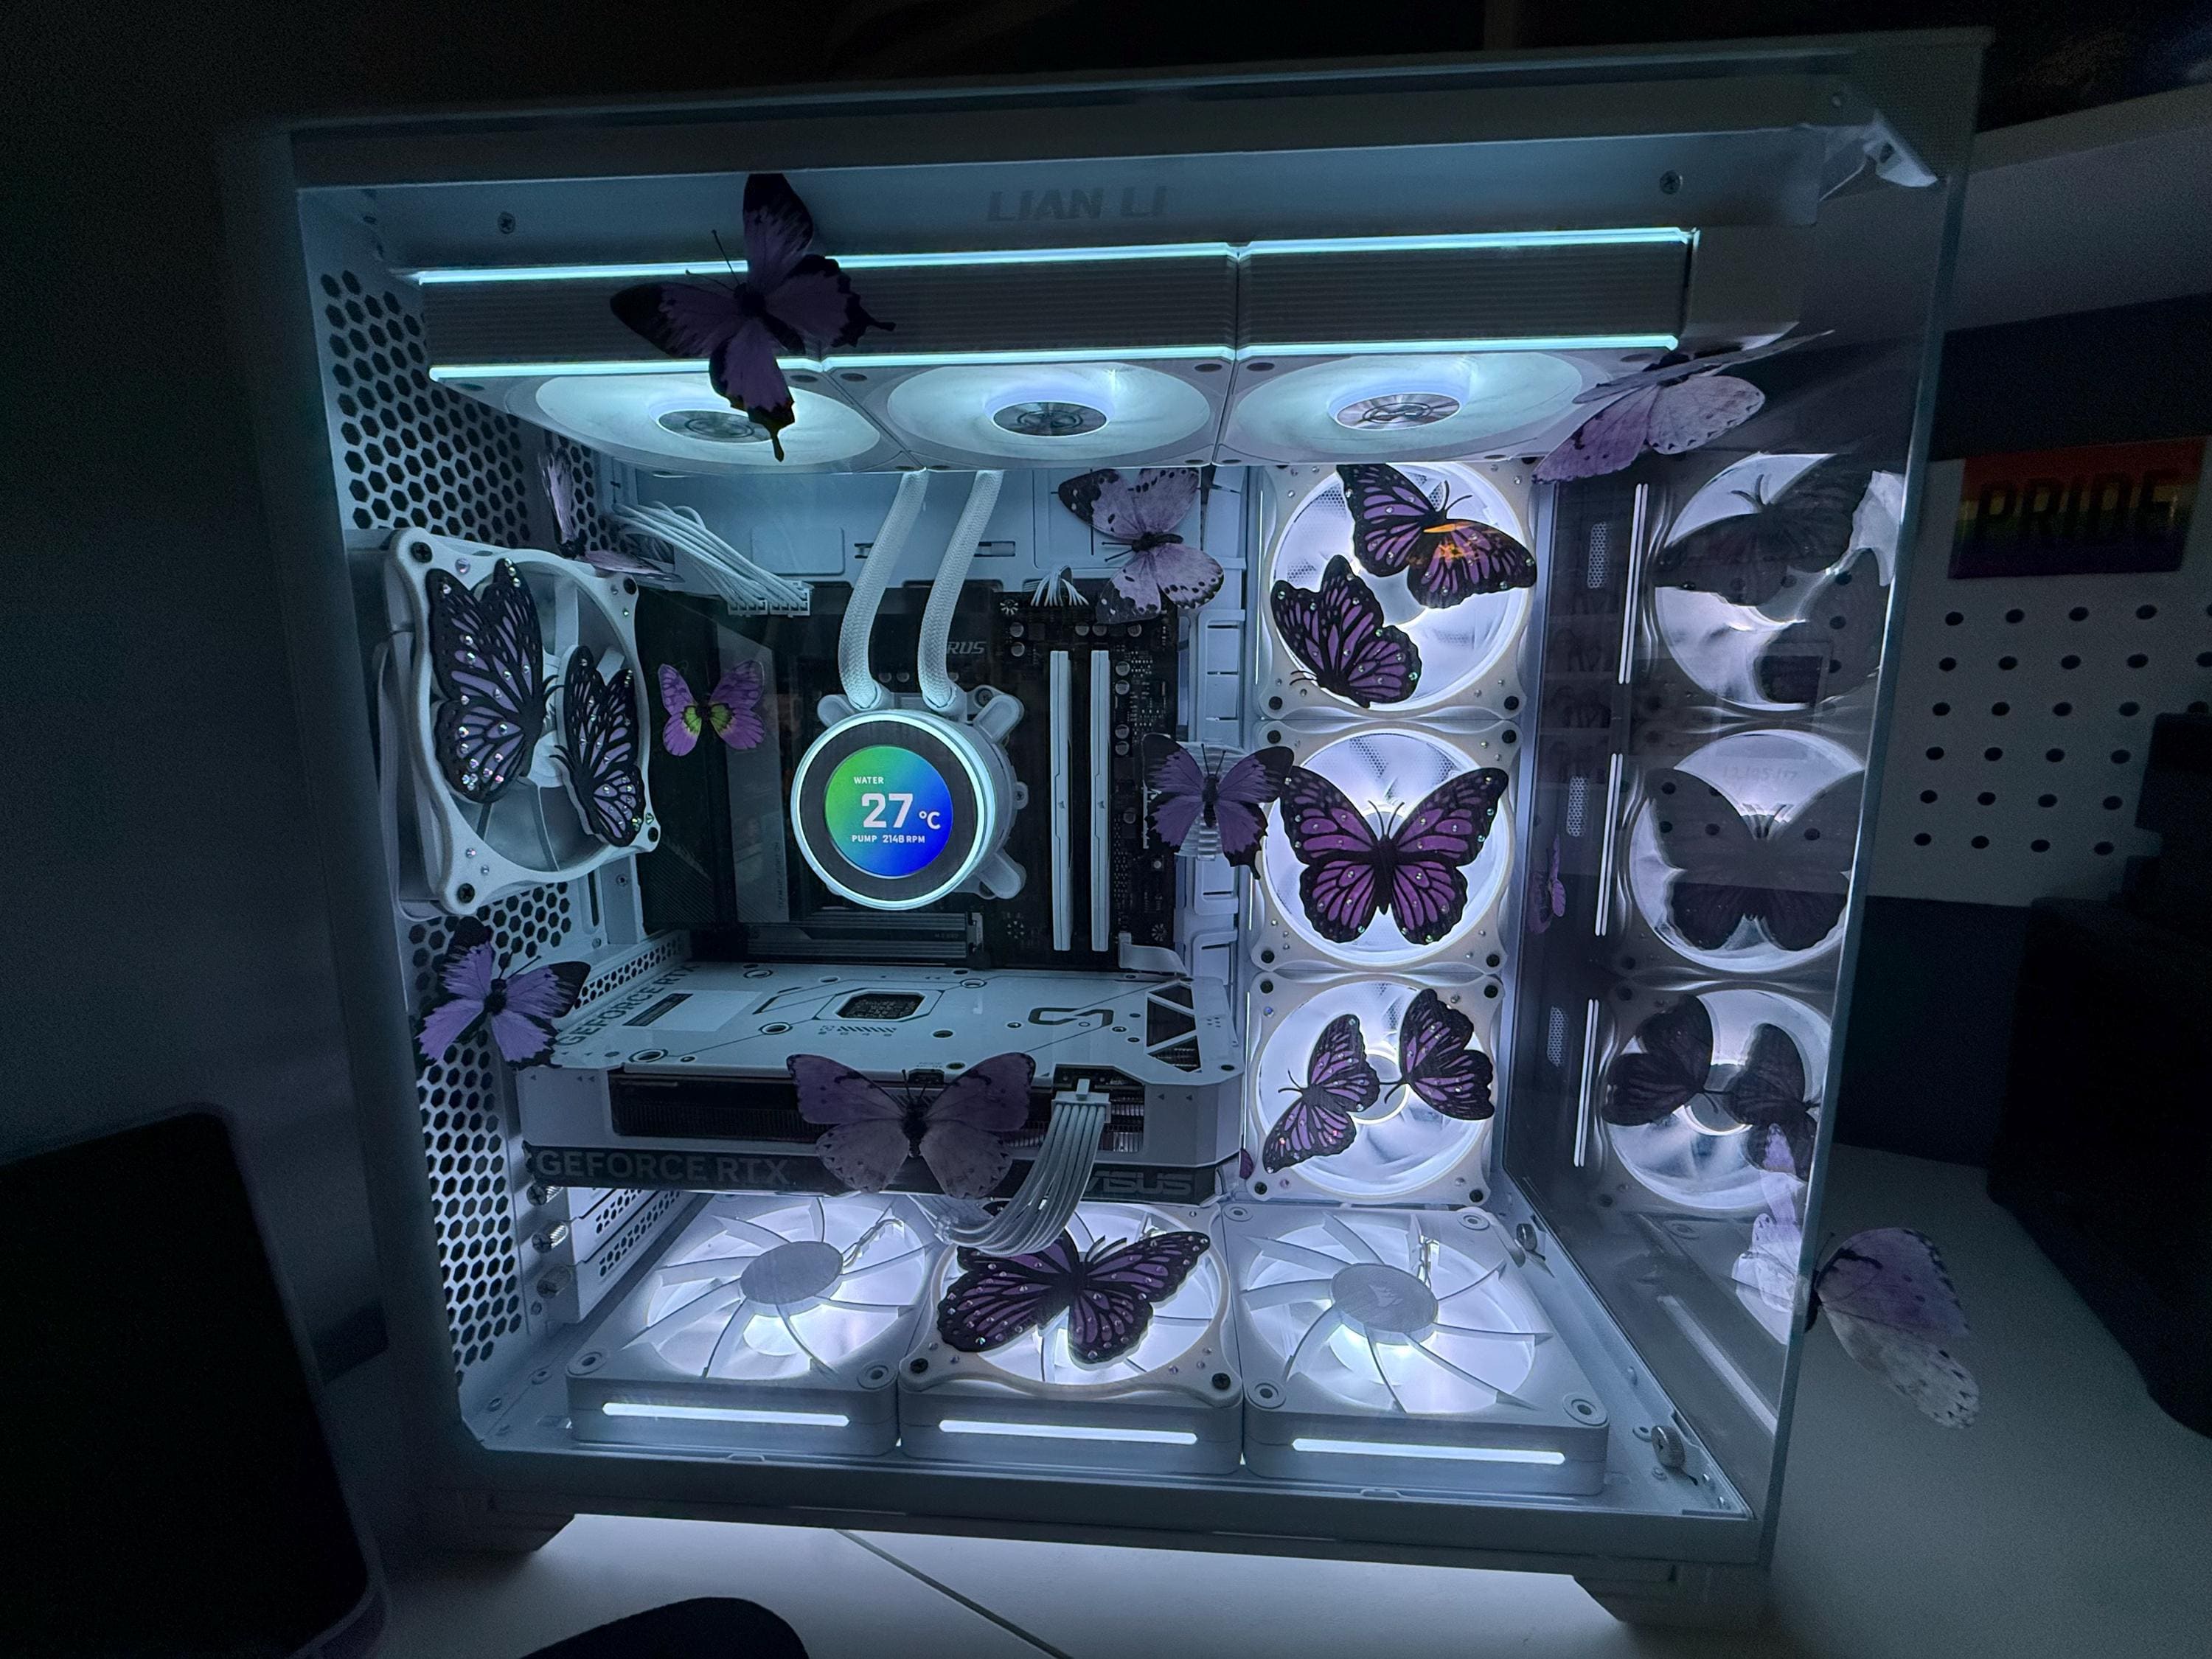
A quick honest note, because you will see this claim everywhere: a decorative fan cover is a design choice, not a cooling upgrade. Any solid material in front of a fan restricts some air. Our designs are cut to keep as much of the blade sweep open as possible, and on a typical case-fan setup the difference is small — but if your build is already thermally tight, the fix is airflow and dust, not decoration.
Making a rental room feel like yours
Here is the constraint nobody warns you about: you usually cannot paint, drill, or permanently mount anything. Everything has to be reversible by move-out day. That pushes personalisation onto the objects you own — which is exactly where a PC shines, because it is already sitting there glowing.
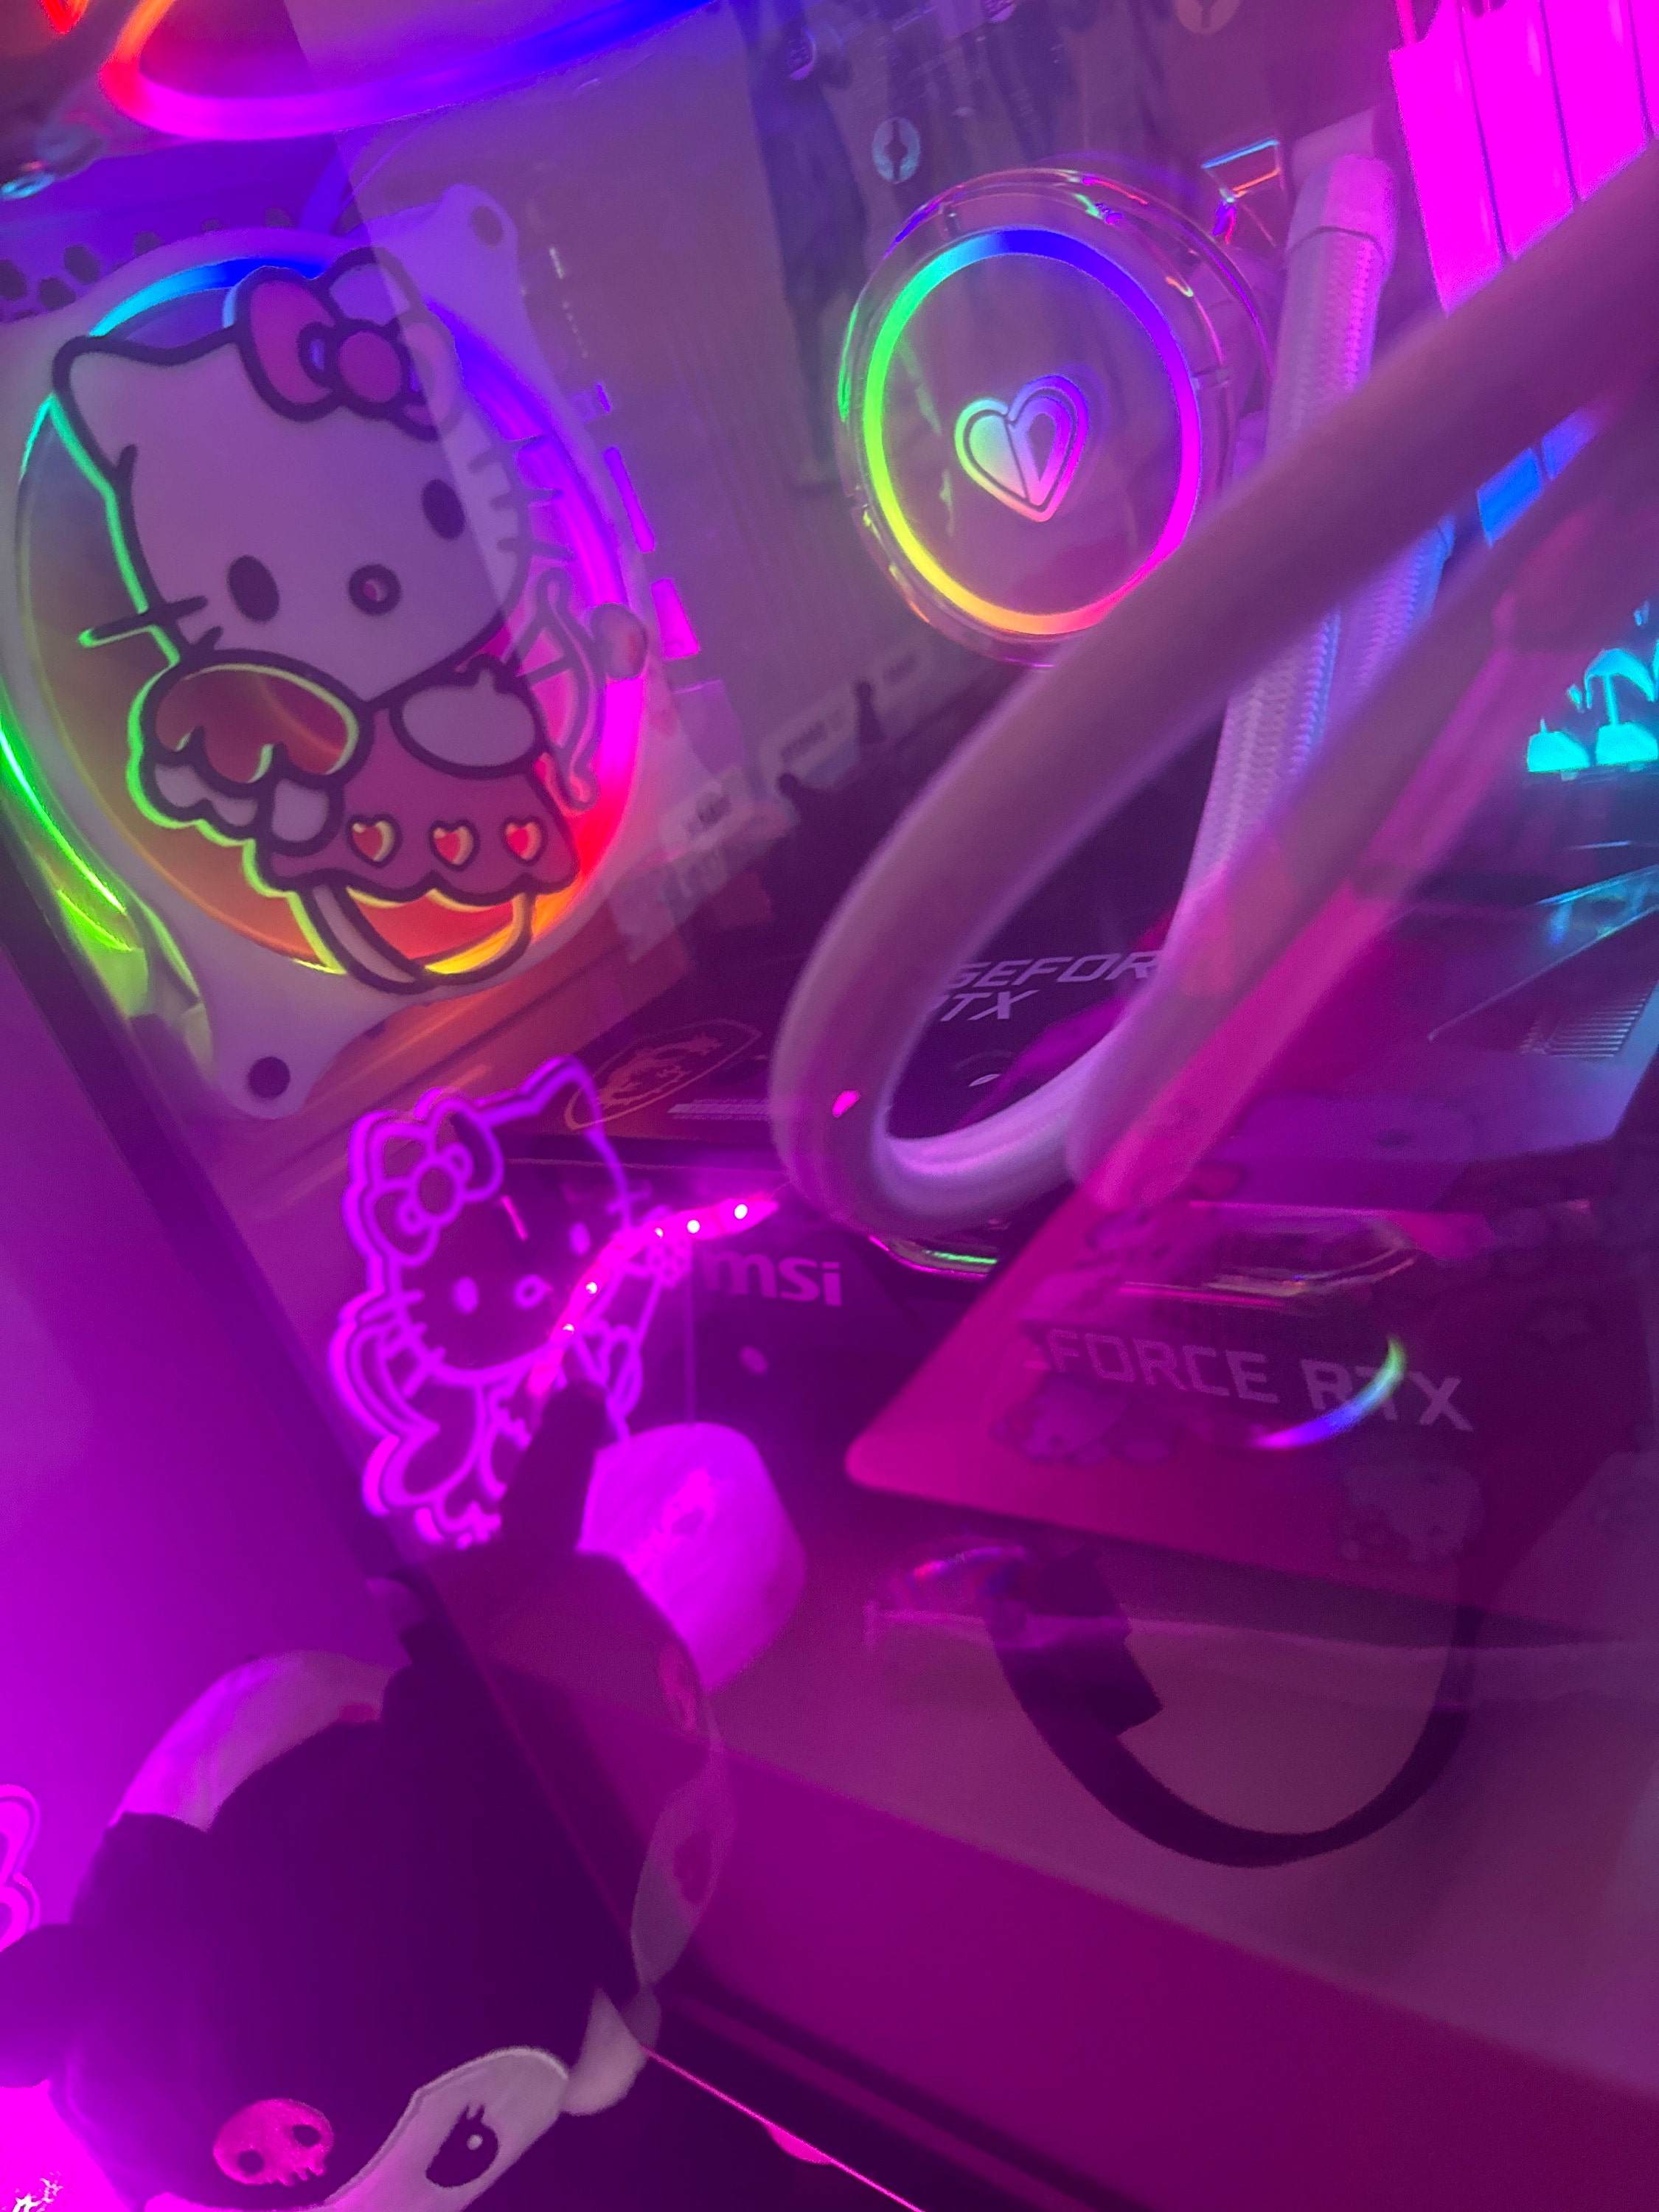
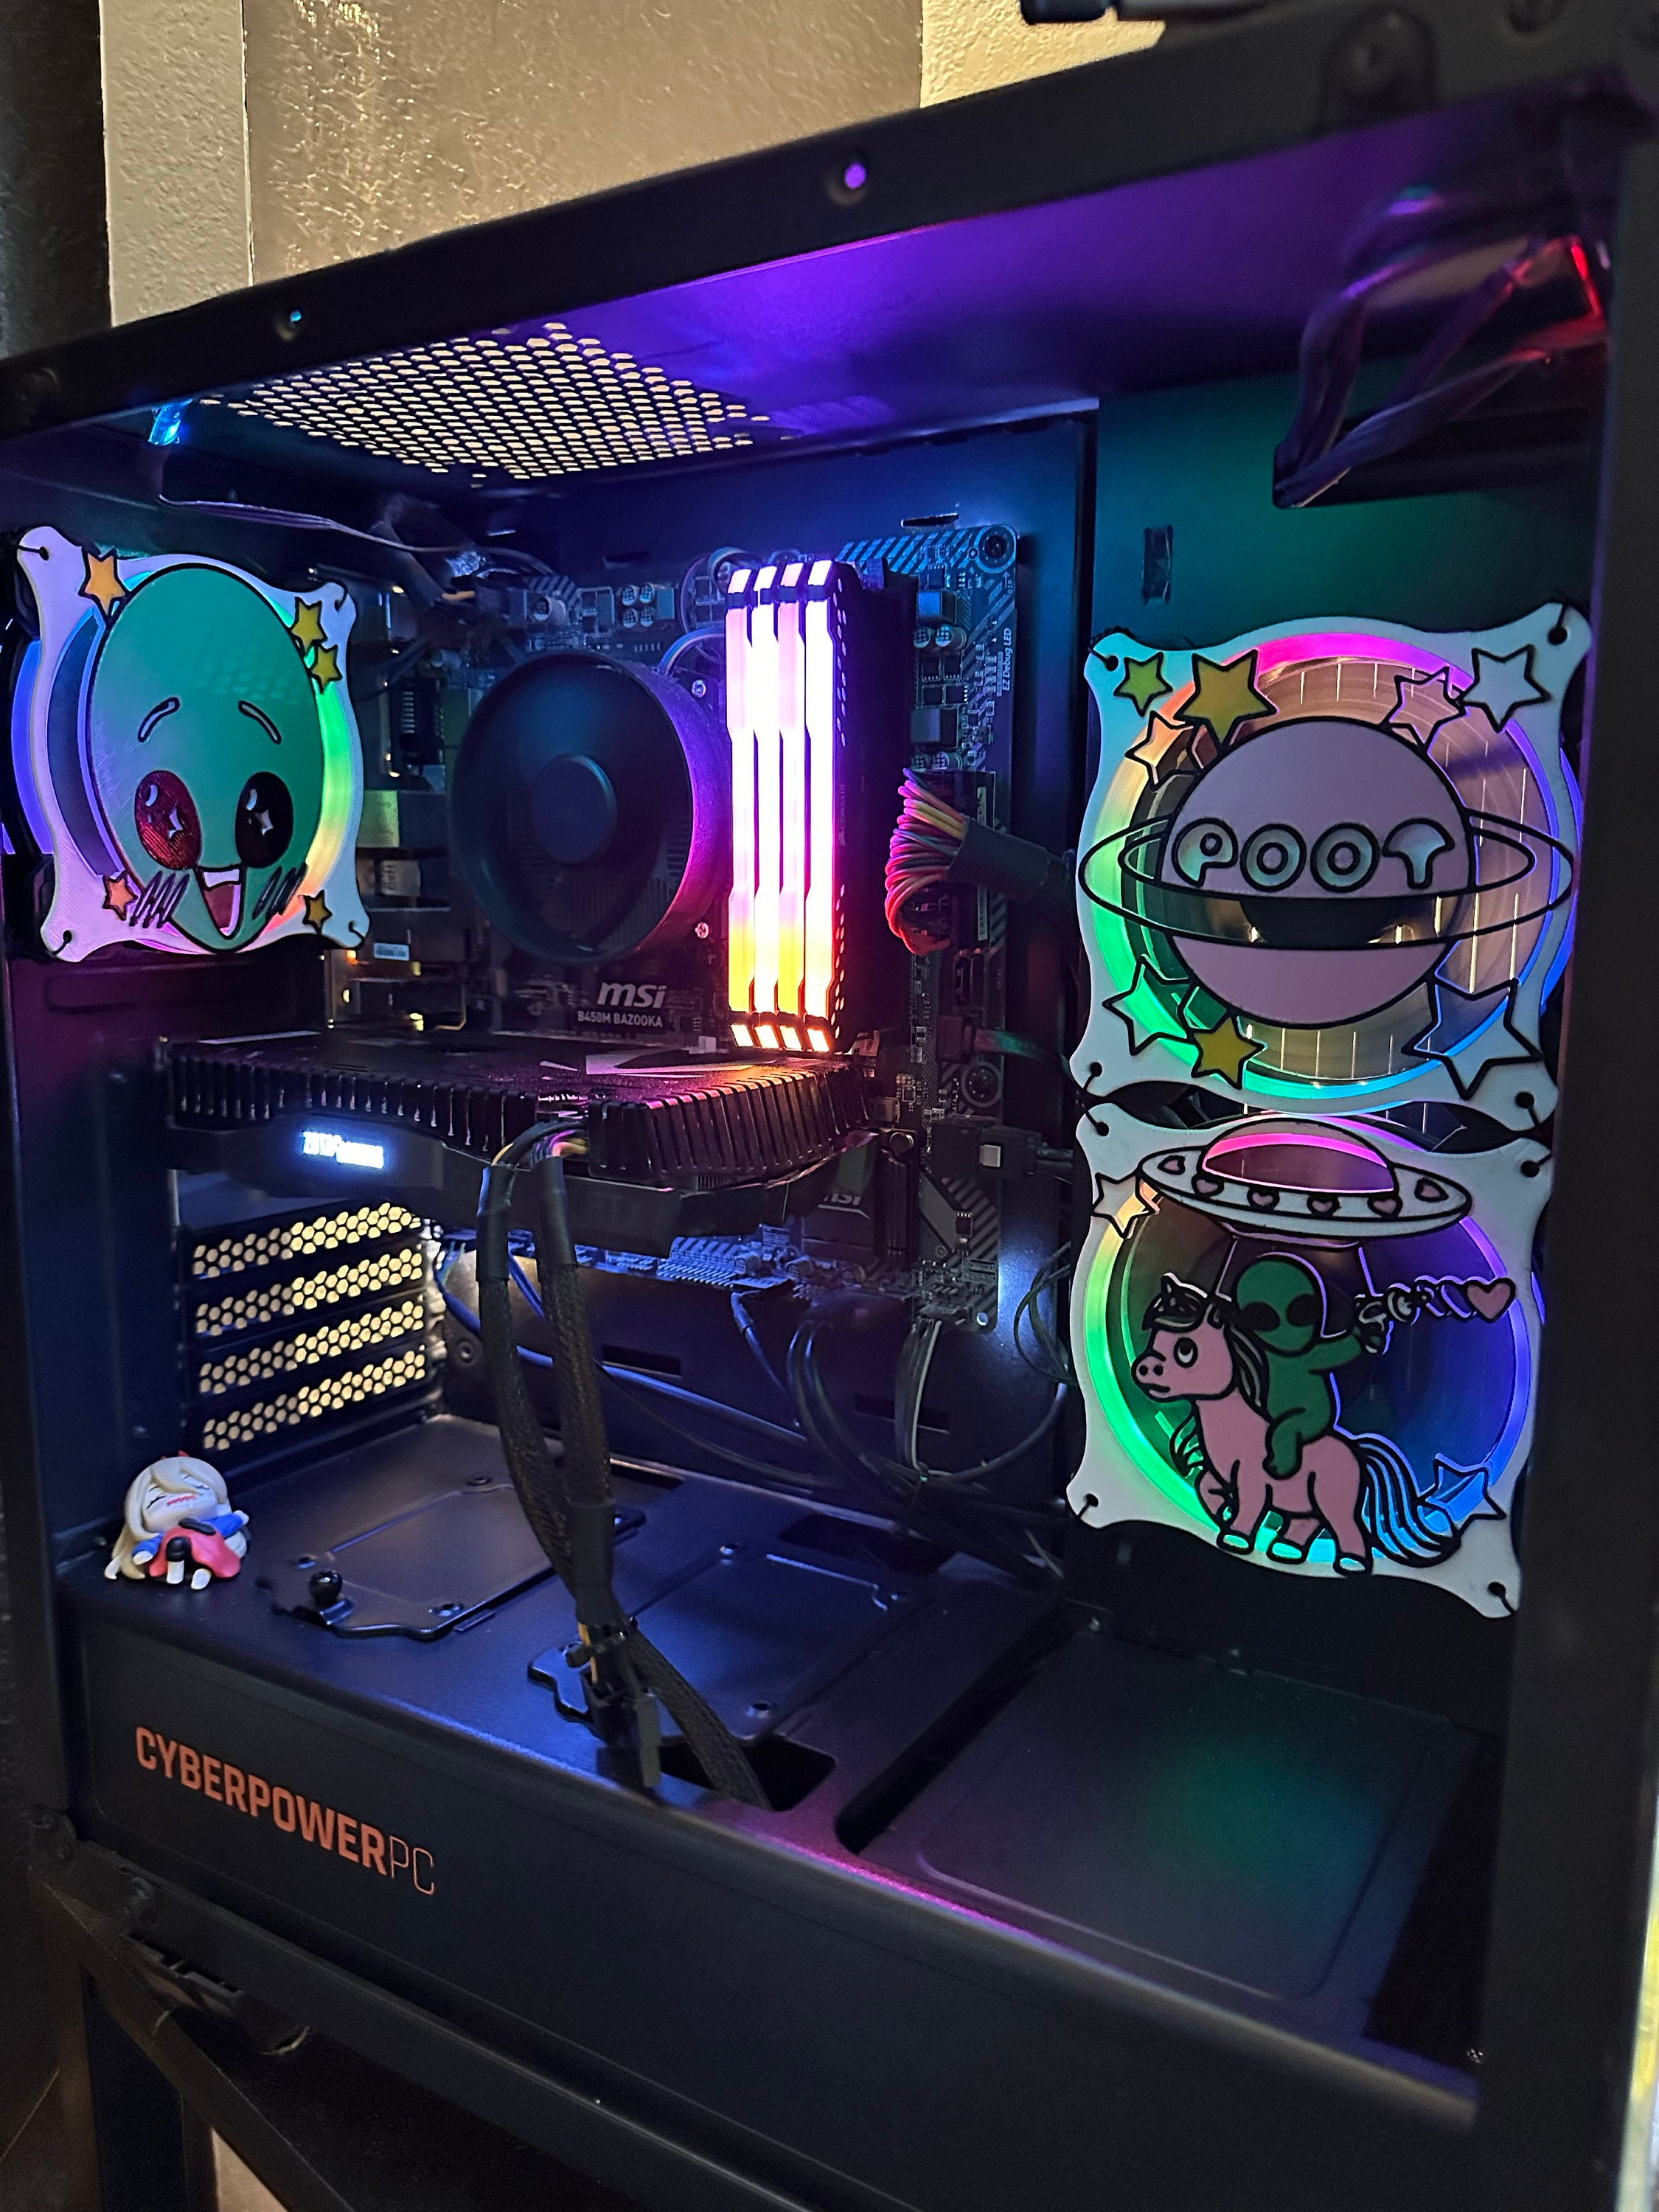
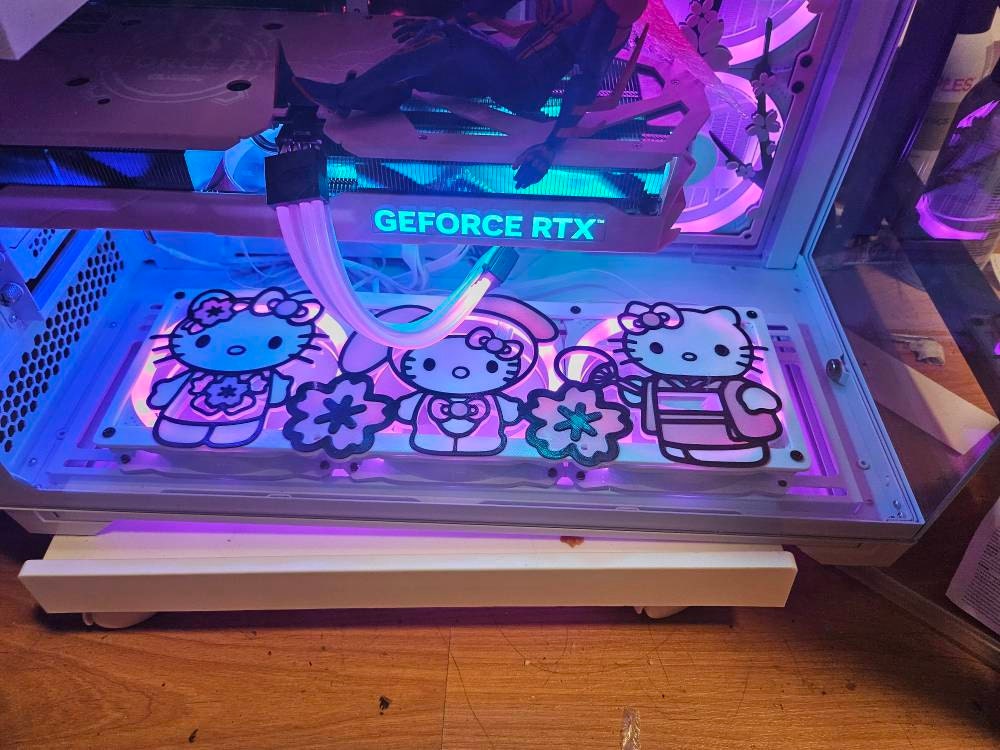
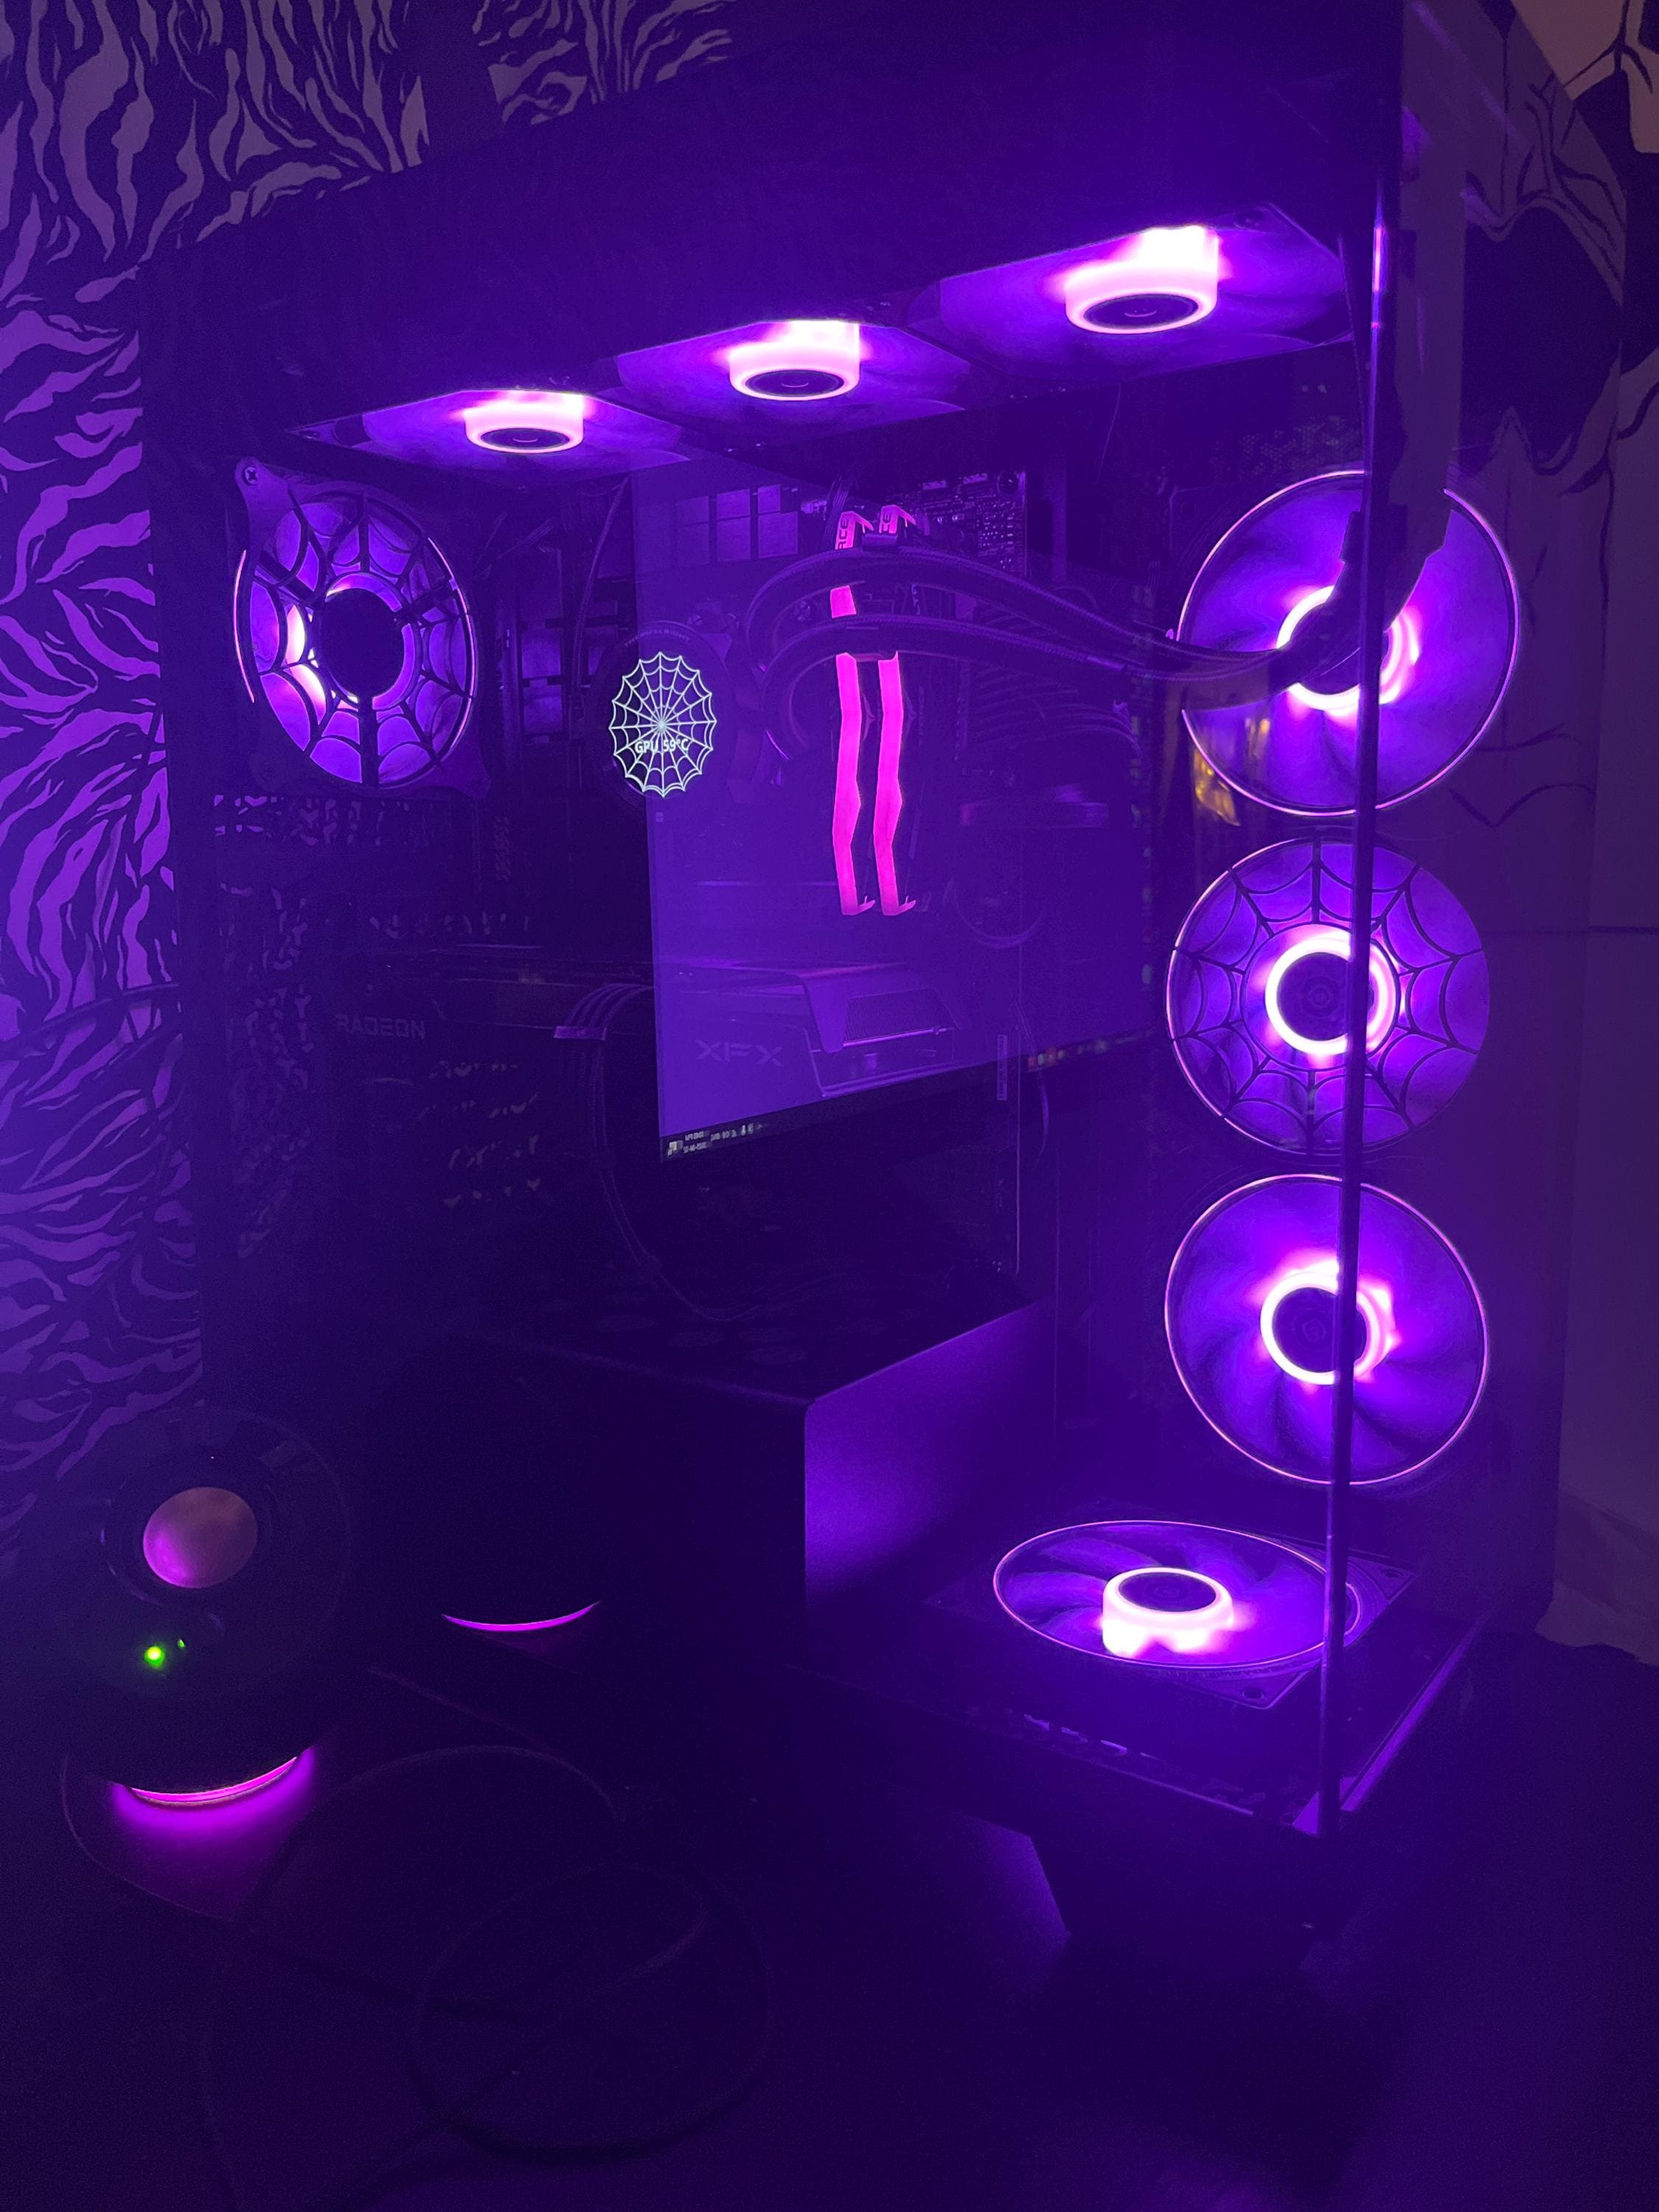
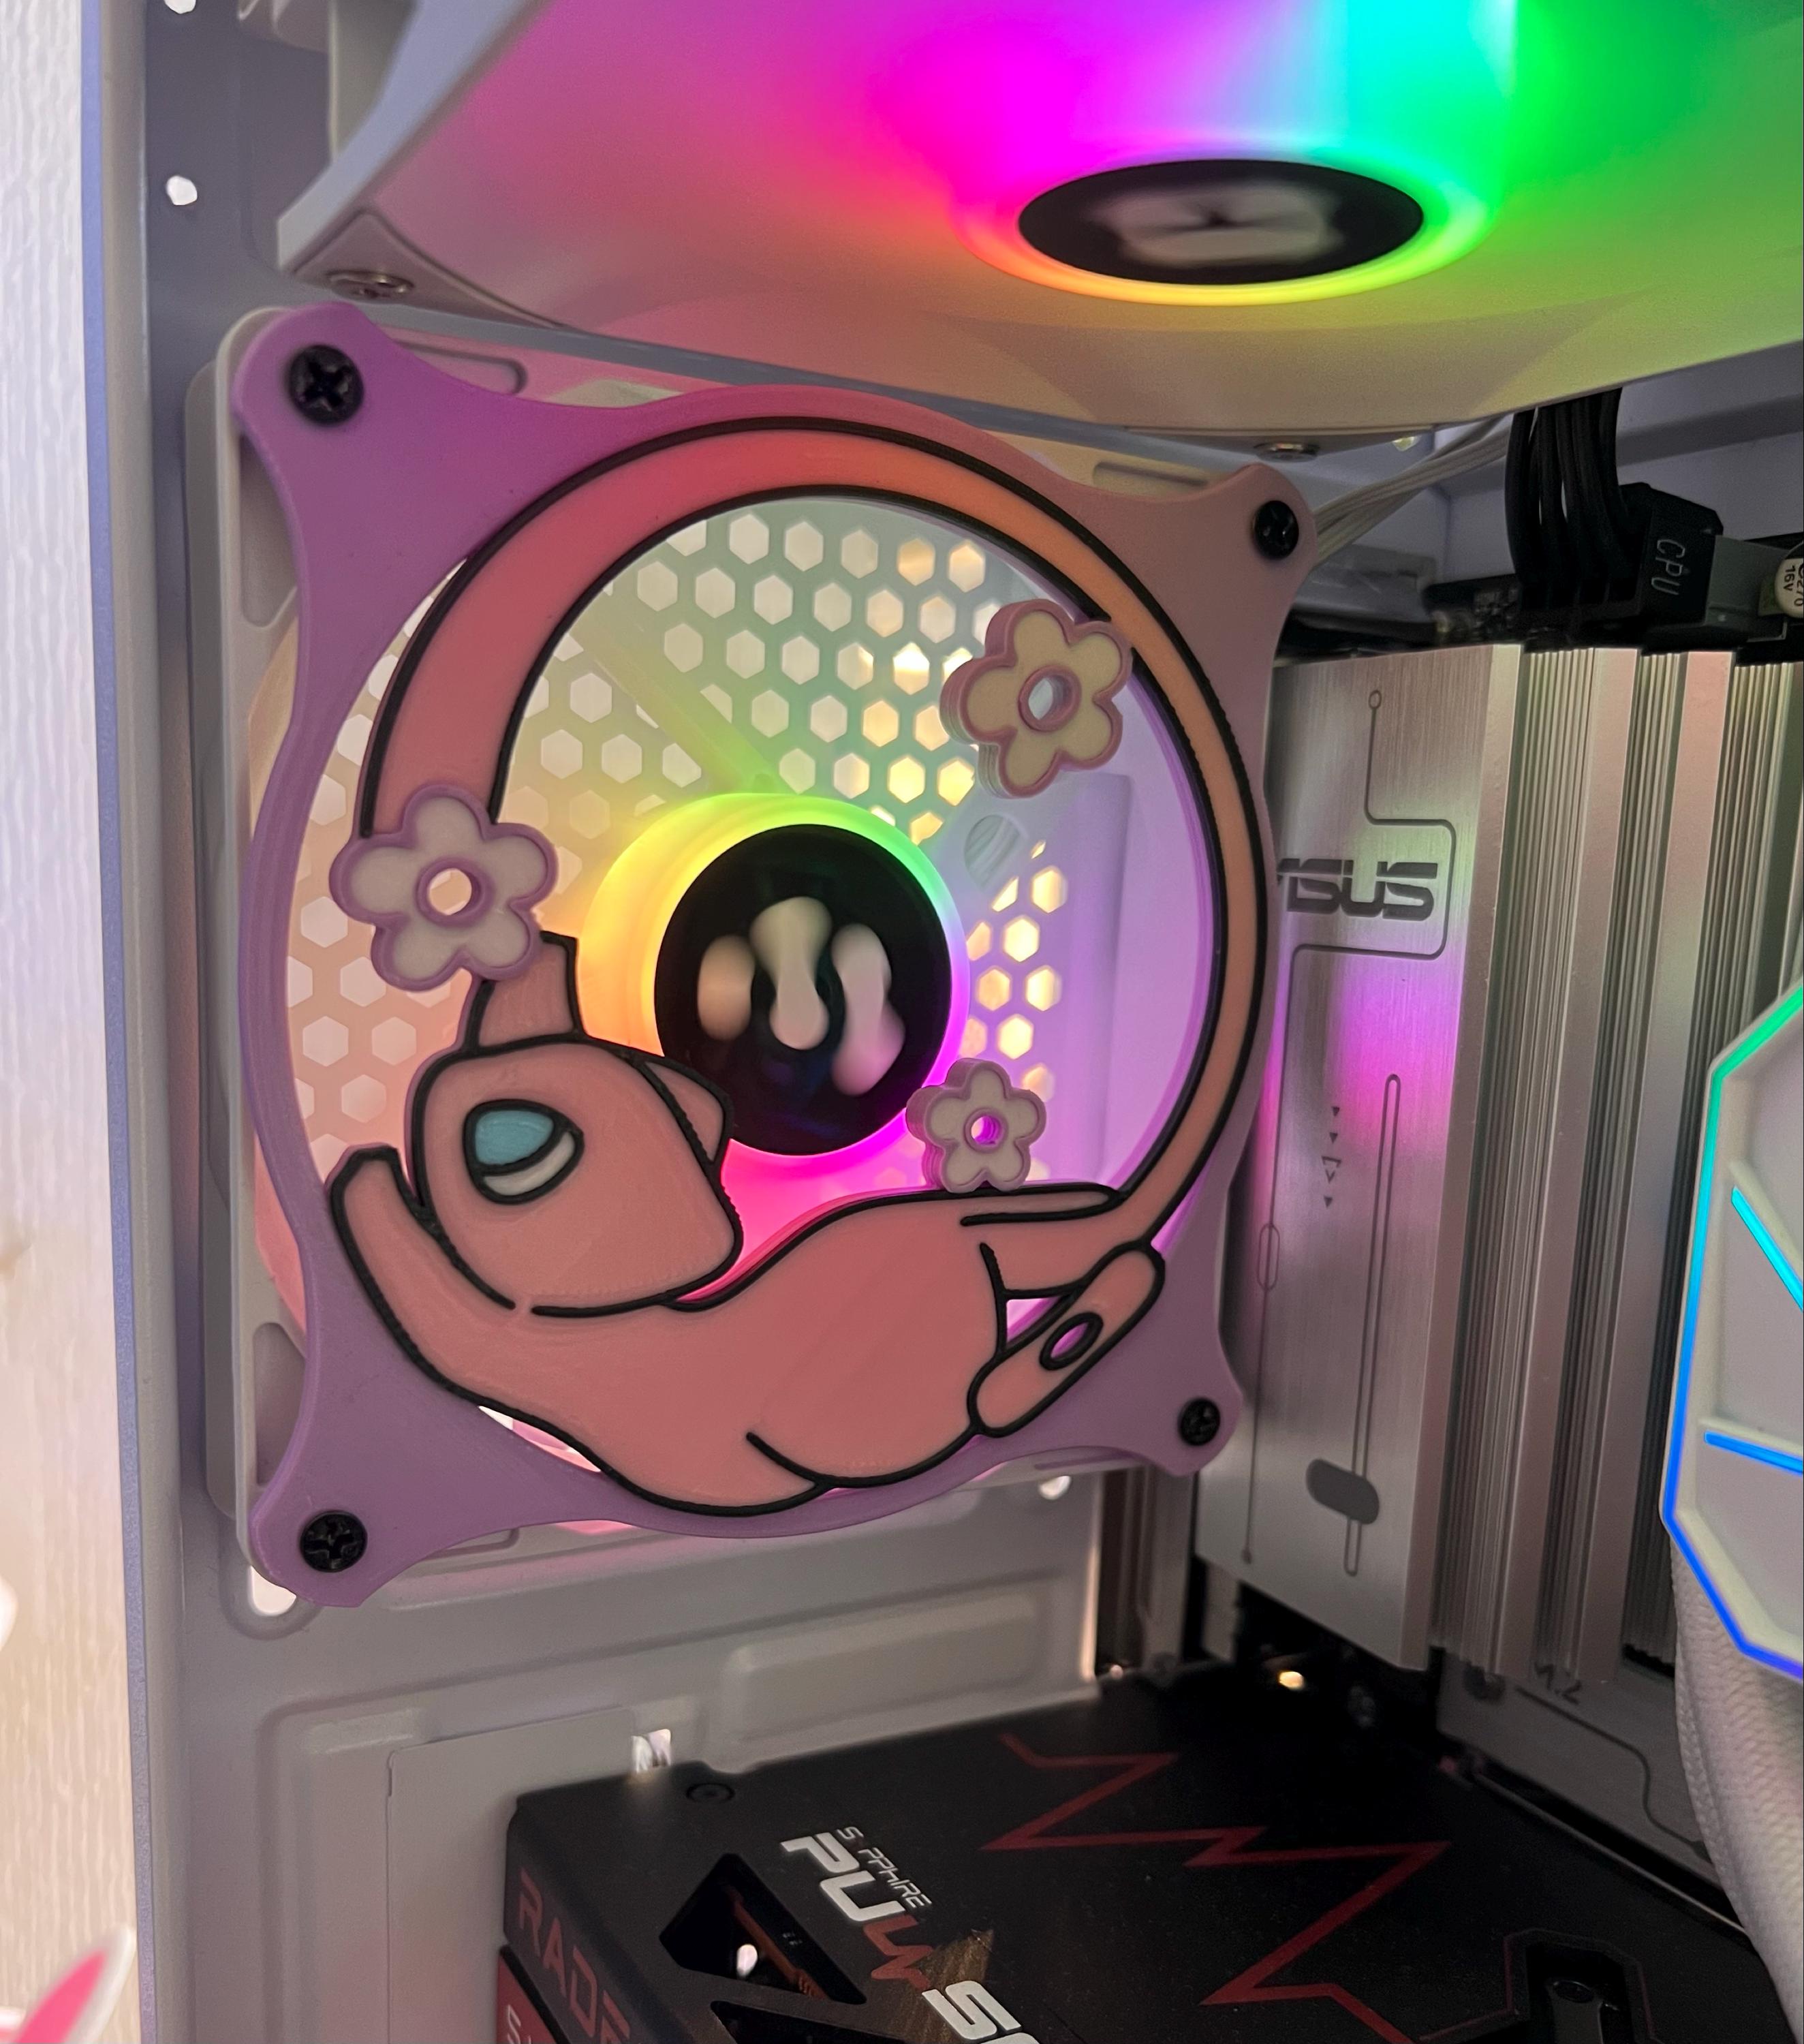
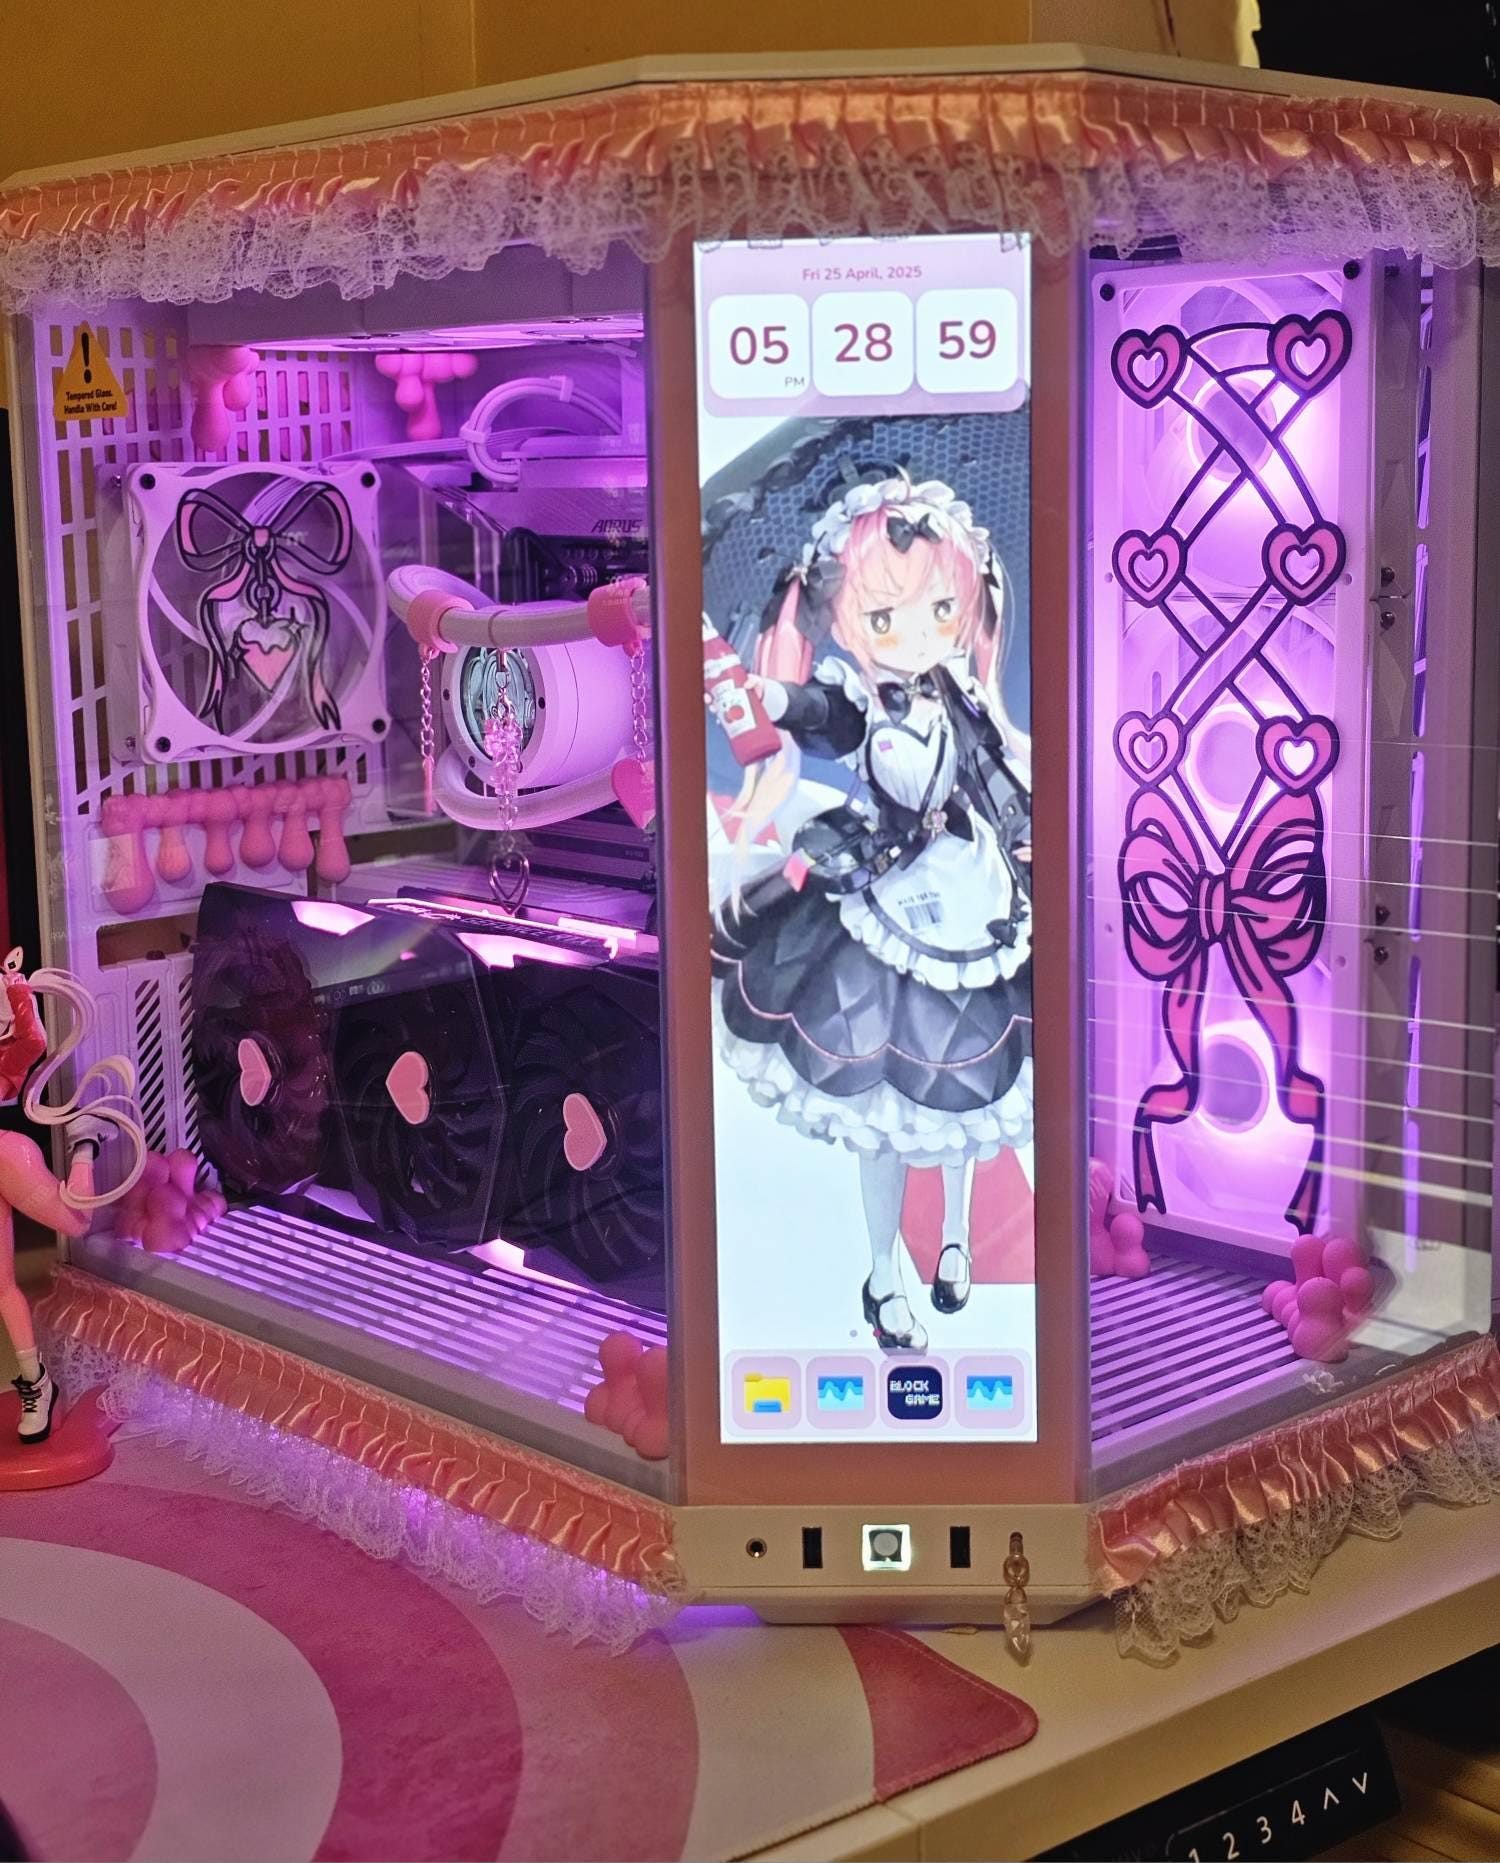
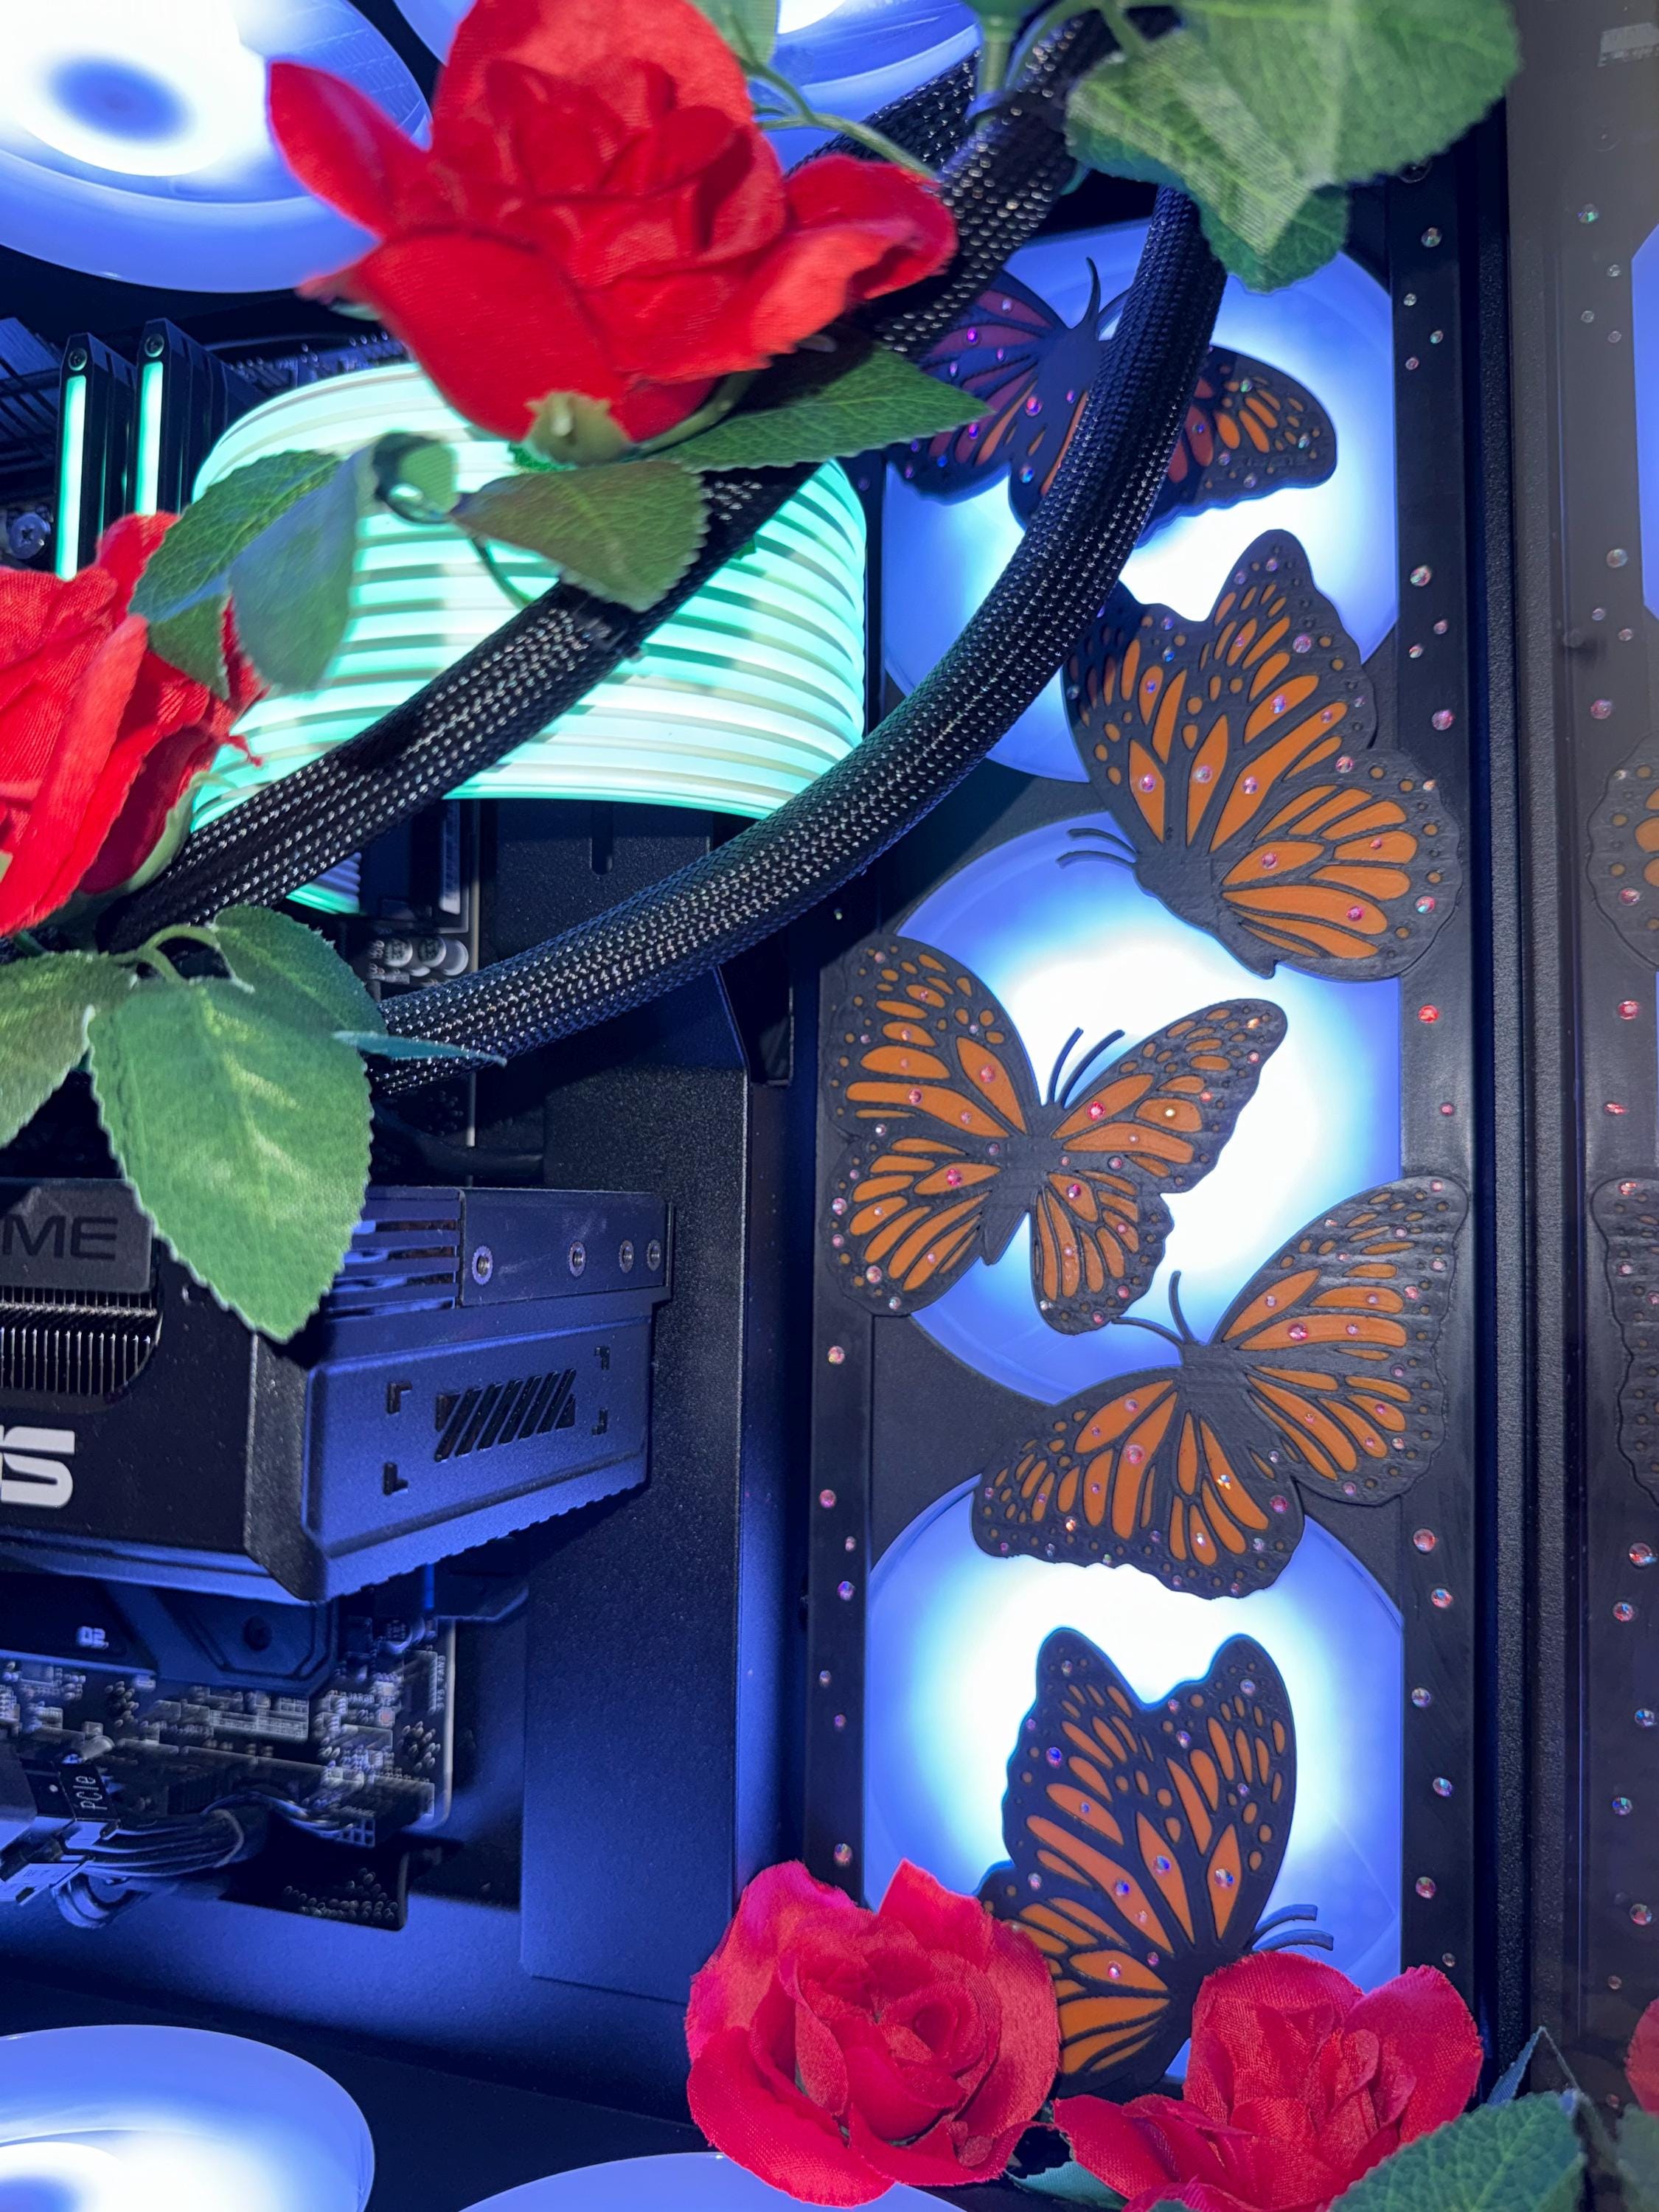
The highest-impact, lowest-effort change is the front of your case. Stock fan grills are black plastic mesh designed to be invisible. Swapping them changes the one part of the build people actually see, and it comes off in a minute when you move out. Our kawaii PC fan covers are the most popular starting point for exactly this reason — pastel, soft, and completely at odds with the aggressive-gamer look most prebuilts ship with.
If you want the whole desk to read as one theme, pick a two-colour palette and repeat it. Cover, cable comb, mousepad, desk mat, one plush or figure. Repetition is what makes a small space look designed instead of cluttered; five different accent colours on a 110cm desk reads as noise.
Getting the fan cover size right
This is where most first orders go wrong. Fan size is not case size, and the number on the box is the fan's outer frame, not the hole it mounts over. The two common sizes in a dorm-friendly build are 120mm and 140mm, and they are not interchangeable — a 120mm cover on a 140mm fan leaves a visible gap and blocks the wrong part of the blade path.
Before ordering, look at the fan itself: most are printed or moulded with their size on the hub or frame. If not, measure one edge of the square frame, corner to corner along a single side. The mounting holes on a 120mm fan sit 105mm apart, centre to centre, which is why 120mm hardware is so standardised. We wrote a full walkthrough in 120mm vs 140mm PC fan covers if you want the measuring steps with the edge cases.
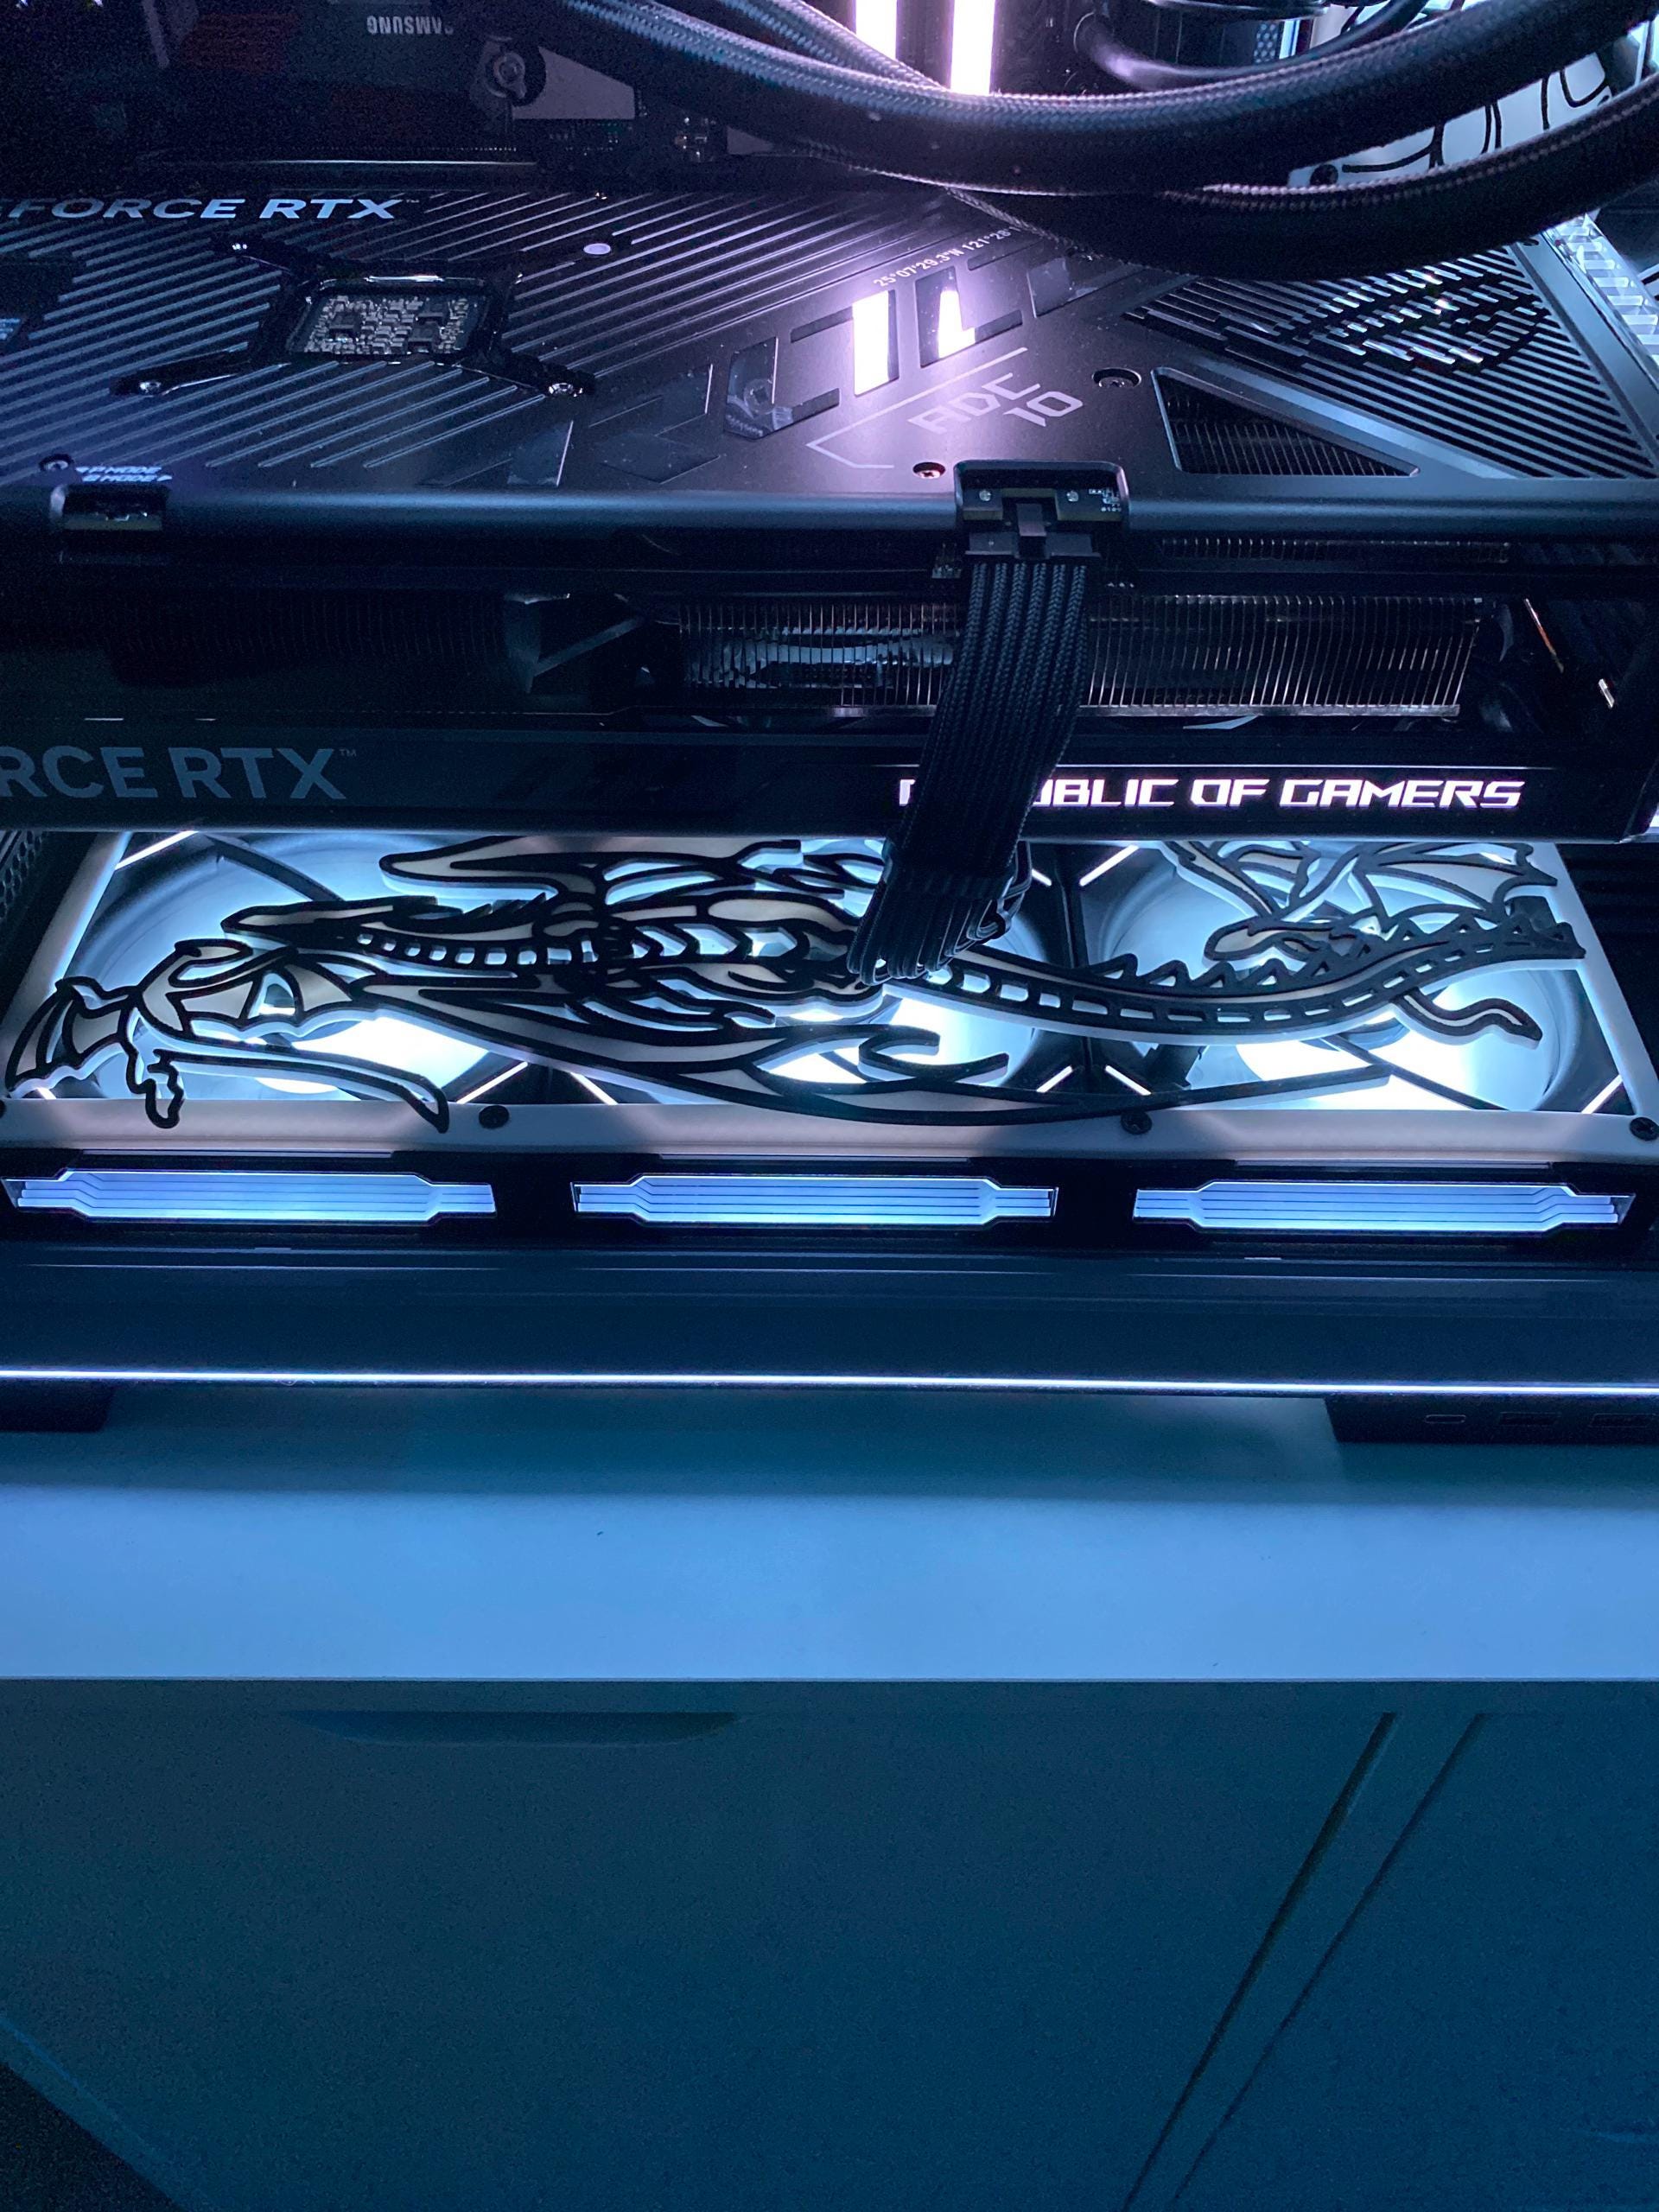
If your case uses a 240mm or 360mm radiator up top, that is a different product — a full panel shroud rather than individual covers. Our PC fan shrouds collection separates them by size so you are not guessing.
The GPU sag problem in a small case
Modern graphics cards are heavy, and in a compact case the card is closer to the side panel and the cable bend is tighter. Over a year of a card hanging off its own PCIe slot, sag is normal — and in a dorm, your PC probably gets moved at least twice, which is when a sagging card takes the most stress.
A support stand is a genuinely functional accessory rather than a cosmetic one. It takes the weight off the slot and the riser, and in a themed build it is a second surface to match your palette. Our custom GPU stands are printed to the height you need, which matters in a small case where an off-the-shelf brace does not fit.
Noise, because you have a roommate
Shared rooms make noise a design constraint. A few things that genuinely help without new hardware:
- Set a fan curve. Most stock BIOS profiles ramp hard and fast. A gentler curve trades a couple of degrees for a much quieter idle, and idle is where your PC spends most of its life.
- Decouple from the desk. A tower sitting directly on a hollow desk turns the desk into a resonator. Felt pads or a mat under the feet kill a surprising amount of hum.
- Watch what is rattling. Nine times out of ten a new buzz is a cable touching a blade or a loose panel screw, not a failing fan. Check before you buy anything.
A realistic first-semester order
If you are starting from a stock prebuilt and want the biggest visual change for the least money, in order:
- Covers for the fans you can actually see. Usually the front intake, sometimes a side panel. Two or three covers, not six — nobody sees the rear exhaust.
- A GPU stand, if your card is heavy or the PC gets moved. Function first, theme second.
- One accent object. A keychain, a magnet, a small plush. Repeats your palette without eating desk space.
That is three items and it changes the whole desk. If your theme is character-driven, the kawaii character-inspired covers are the easiest way to tie a soft palette together. And if what you actually want does not exist yet, our artisan customs process starts with a concept render, so you see the design before anything gets printed.
What to do before move-in day
Two practical notes that will save you a weekend. First, check your housing rules for power strips — many schools require surge-protected strips and ban daisy-chaining, and a gaming PC plus two monitors is more draw than the desk outlet expects. Second, keep the original boxes for anything you are removing. Stock fan grills, stock feet, stock brackets: they all need to go back on when you move out, and they are impossible to find in June.
Build for the desk you have, keep the air moving, and change the parts you look at every day. A dorm room is a temporary space, but eight months is a long time to sit at a desk that does not feel like yours.
Ready to start? Browse the kawaii collection and pick your palette.
Kitsune Kingdom's character-themed designs are independent fan art. Kitsune Kingdom is not affiliated with, sponsored by, or endorsed by any rights holder mentioned or referenced.